
Previous: This Sucks
Imperials are known for being quiet. Mine wasn’t. It is now.
No carpet was big part of the problem, along with the removal of sound deadening undercoating described in Bottoms Down. While carpet is a good start, you can do much more. Of course you have to do this “much more” before installing carpet.
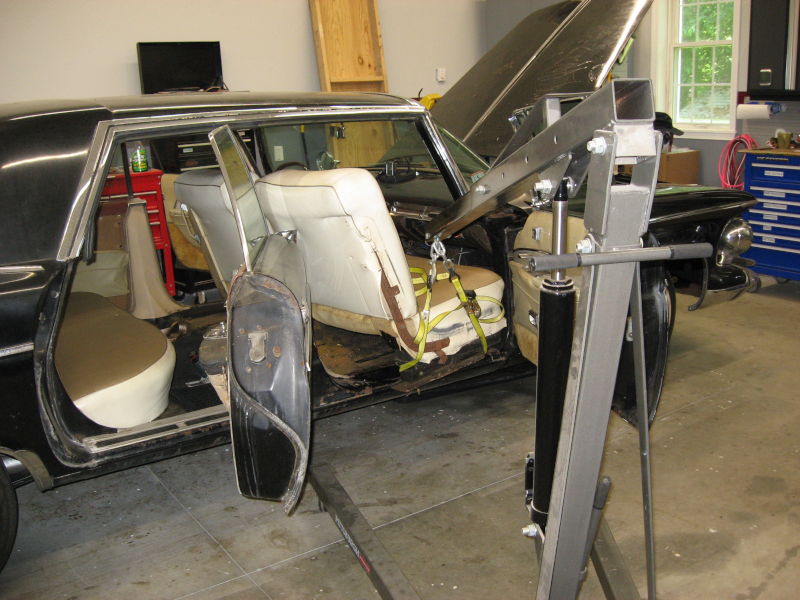
The first step is to remove the seats. The rear seats weren’t bad, but the front seat weighs 150-200 pounds and is awkward. Once again the engine hoist comes to the rescue – raise one end of the seat on the hoist and wrestle the other end. The hoist rolls as you move the seat, so this really wasn’t that bad.
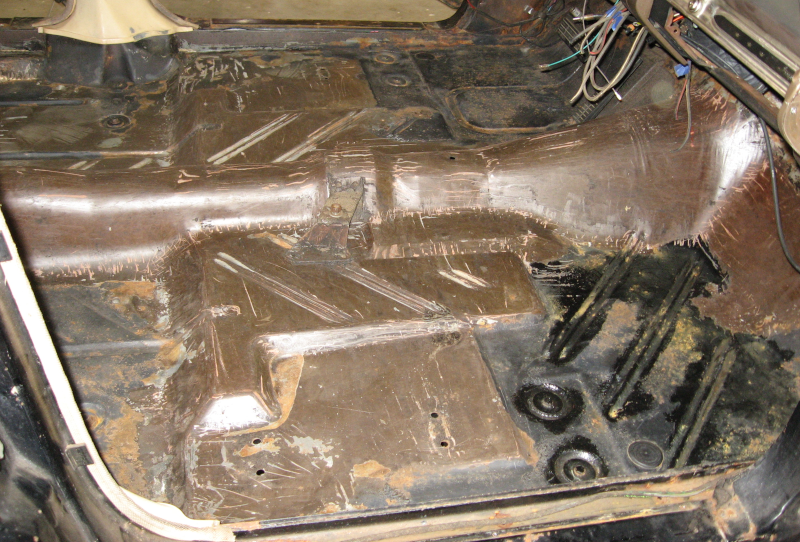
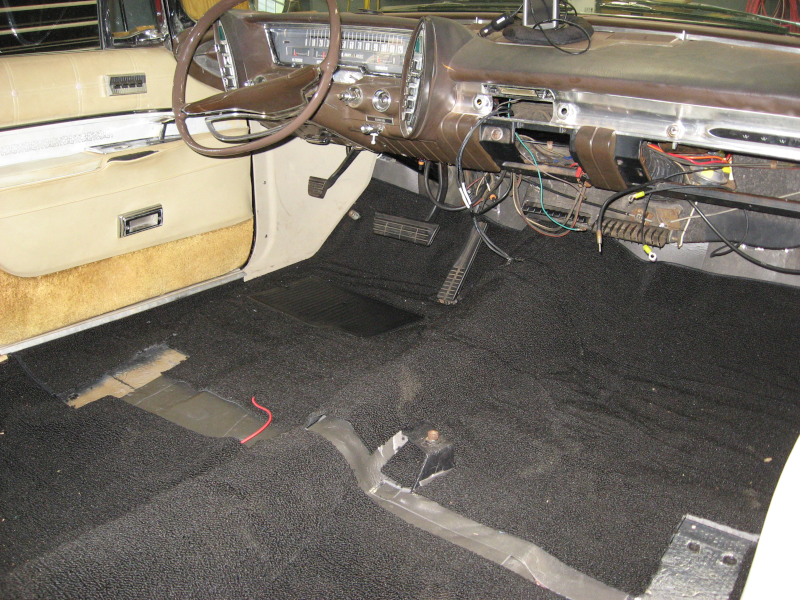
With the seats out you can see how Chrysler used undercoating on the floors as well as the bottom of the car. Hmm, if it is on top of the floor is it undercoating or overcoating?

In any case the undercoating was thick under the seats and largely missing from the foot wells. Removing the overcoating wasn’t as bad as removing undercoating, but it still took me three days to get it removed and the floors cleaned. With the floors bare a coat of epoxy primer was brushed on – much neater and easier than trying to spray the inside of the car.
There are two kinds of soundproofing materials used in cars – deadening and absorbing. Deadening is done by applying a heavy and viscous material that reduces vibration in metal panels. The original heavy undercoating did this as well as protected the bottom of the car from damage. Sound deadening can also be done with stick-on sheets of a heavy rubber mastic. The best known version of this is Dynamat, which is also one of the most expensive.
Digging around I found Noico which had good reviews and was about half the price of
Dynamat. Most sound deadening material is .050-.067 inches thick, while Noico is .080. Since sound deadening effectiveness is related to thickness the Noico should be good. Two boxes are enough for most cars, so I ordered three boxes. It was almost exactly enough.
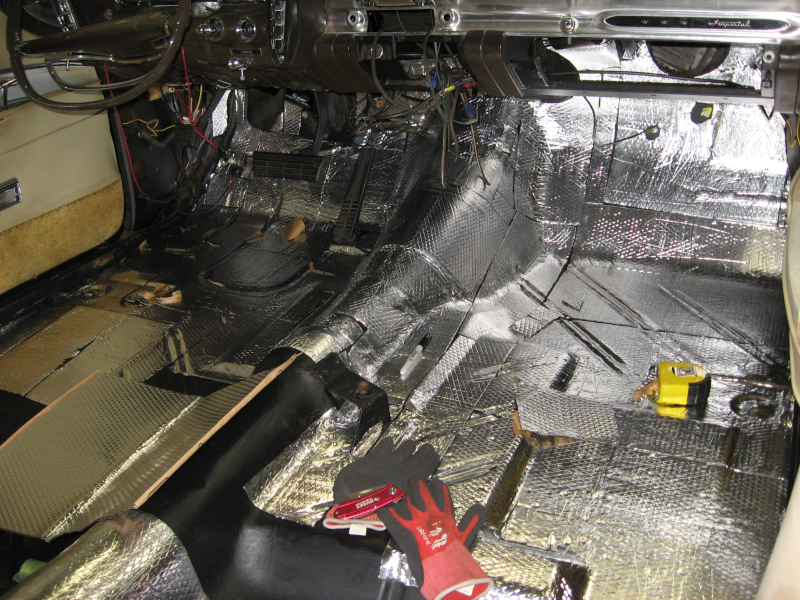
This material consists of three layers: embossed aluminum top layer, rubber mastic middle layer, and a peel off paper layer. You adjust and trim the material to fit, position it, and roll it down until the embossing in the aluminum is flat. A somewhat tedious job, but much better than working on the underside of the car!
There are differing views on how much coverage is needed. Some people claim 60% coverage provides most of the sound reduction. The manufacturers of the sound deadening material suggest getting as close to 100% coverage as possible. You can guess which way I went…
The other type of sound deadening is absorption. This uses a heavy urethane foam that actually absorbs noise. It also insulates heat, making it desirable for the firewall and floors. And possibly for the roof; haven’t decided about that yet.
Noico also makes sound absorbing foam, which gets good reviews and is low cost. It comes in two thicknesses: 315 mil (thousandths of an inch) and 150 mil. I had one box of each; thought I ordered two boxes of 315? Oh well, 315 for the firewall and front floors and 150 for the back seat. This mistake turned our for the best – a box of 315 covers 20 sq. ft., while a box of 150 covers 36 sq. ft. 150 is easier to work with and I ended up with very little left over.
Installation of the foam goes much like the mat: trim to fit, remove the backing, and stick down. The big differences are that you don’t have to roll it and you have to position it right the first time – the adhesive sticks as soon as it touches down, and you tear the foam trying to remove it. 100% coverage is needed for the foam to provide effective insulation and sound deadening.
Carpet proved to be a challenge. There just isn’t much aftermarket support for these old Imperials. I found one place that had it listed in their catalog and ordered it. The order was cancelled two days later as the carpet was no longer available. Well, at least they didn’t drag it out for months…
More research turned up another place claiming to have Imperial carpet. I contacted them to ask if it was actually available. They checked with their supplier and answered “yes, it is available and has a 6 week lead time”. Sure enough, it showed up 6 weeks later.
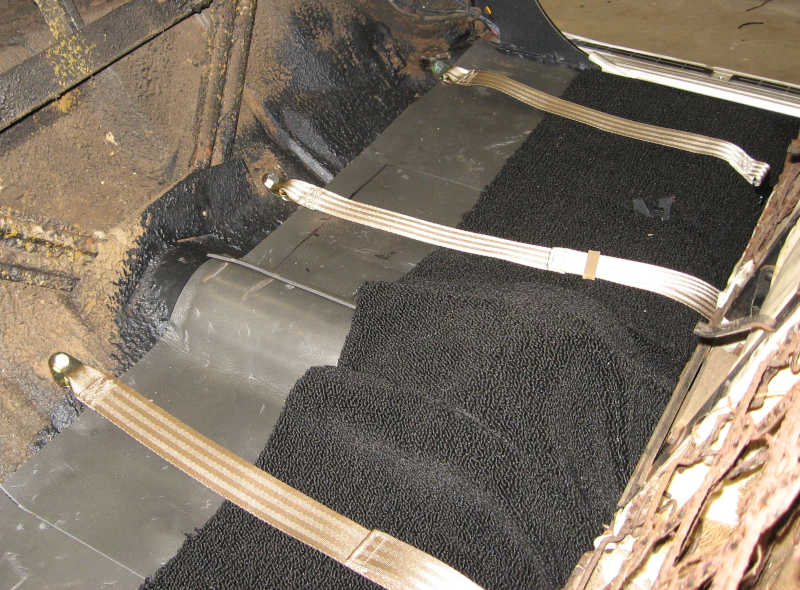
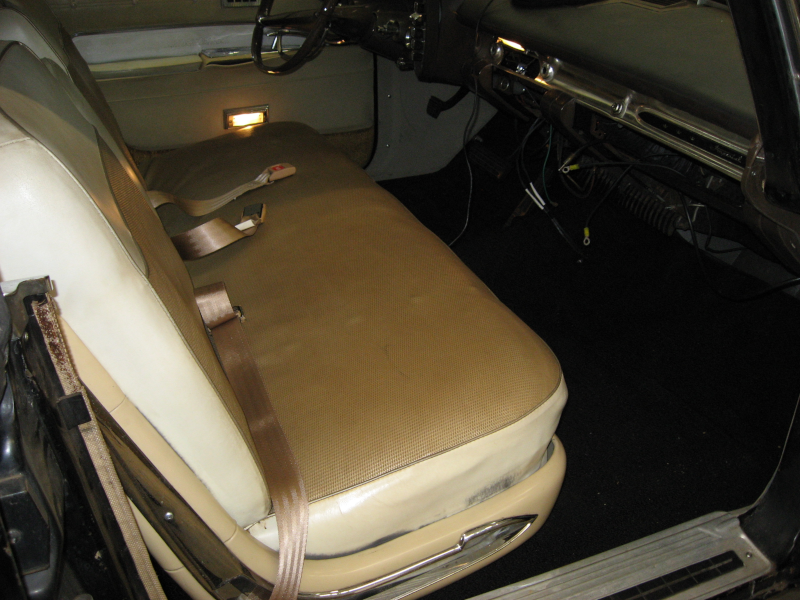
The carpet was a decent but not great fit. It had some tailoring for the transmission tunnel but just didn’t fit like factory carpet would. I was able to adjust, tweak, and trim it to a usable configuration but there are still a few wrinkles. Realistically, no one will notice with a black carpet.
The front seatbelts were reinstalled and new rear seatbelts added.
With the carpet in and all the trim pieces installed this job was done.
With the sound deadening and carpet done it was time to dig out the engine hoist and reinstall the front seat.
With everything back together it was time for a road test to determine if all this work was worthwhile. Short answer: Yes!
Yes, it was absolutely worth it. The car is MUCH quieter than it was before. To the point that driving it is a different experience. There is almost no road noise and engine and exhaust noise is greatly reduced.
I could do more. Sound deadening it the doors is supposed to make a significant difference, as is a hood pad. Sound deadening and insulation in the roof is also recommended, as is sound deadening and carpet for the trunk. But right now things are so much better that there is no sense of urgency for tackling these projects.
Next: Retiring the Imperial.
Hello,
What was your method for removing the undercoating (overcoating)?
You put the sound absorber over the sound deadener thus 2 layers?
I tried several different ways of removing the undercoating – nasty stuff and doesn’t want to come off! Except, of course, where it is already falling off in sheets…
The best way I found was to heat it up with a heat gun, scrape the bulk of it off, and then clean the residue with Prep-Sol solvent. This was covered in some detail in http://www.imperialjourney.org/2019/10/04/bottoms-down/ I will be happy to never see Chrysler undercoat again!
Yes, I used two layers of sound deadening. They work together – the sound mat bonds tightly to the metal and reduces vibration while the sound foam actually absorbs sound. And the carpet reduces the noise even more while hiding all of the stuff under it. While a lot of people just use the sound mat, it seemed to make sense to go ahead and add the sound foam while I had everything apart.