
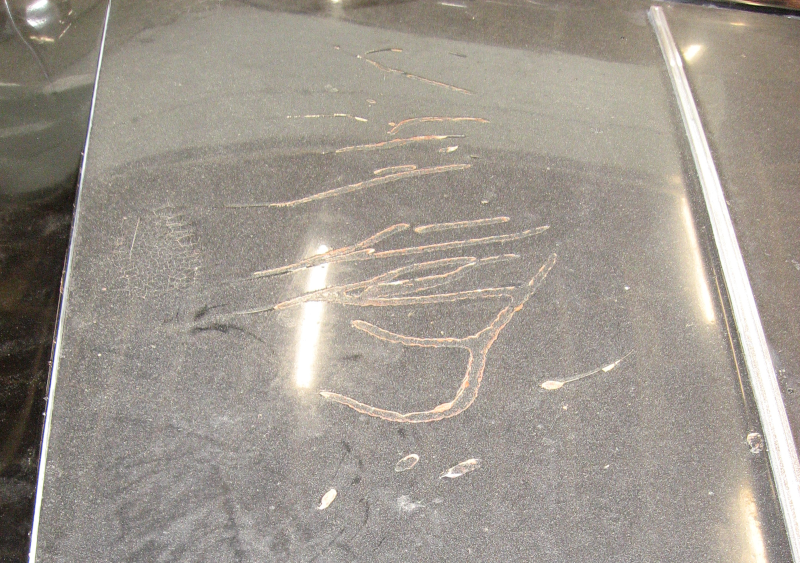
With the bottom of the hood done in Hoodie I flipped the hood over and tackled the top. The top of the hood has bothered me since I got the car – something had been laid on top of the hood that attacked the paint, there were areas where the paint was badly cracked, and multiple large stone chips. Basically it looked horrible.
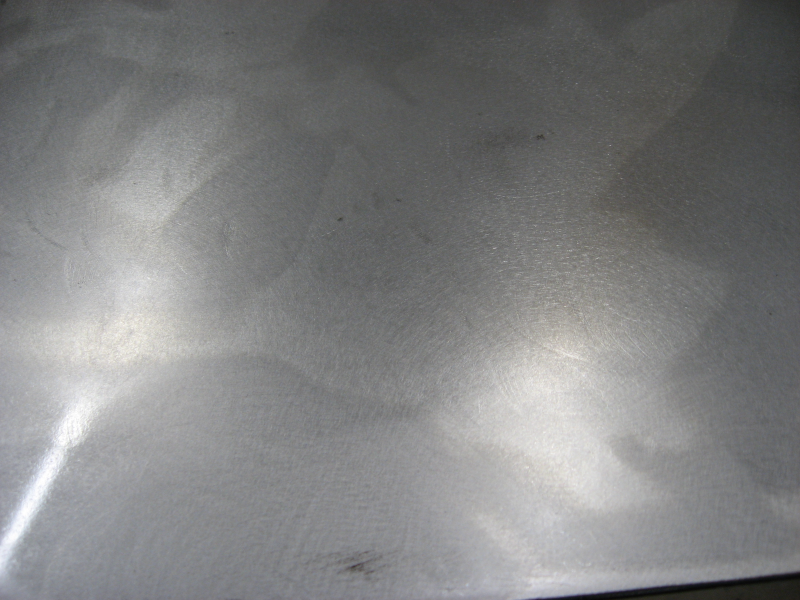
The hood needed to be completely stripped of paint, skim coated with body filler, and primed. The DA sander I used to strip paint off the door in Door Four Debacle worked but was very slow. A flap disk on an angle grinder quickly stripped all the paint off the hood – but at a cost. Even though I was careful the flap disk noticeably gouged the surface, leaving marks that would clearly telegraph through the finished paint. Fortunately I was already planning to skim coat the hood, which will hide the gouges. The flap disk is clearly too aggressive for paint removal. Something else is needed for the rest of the car – hopefully something faster than a DA sander…
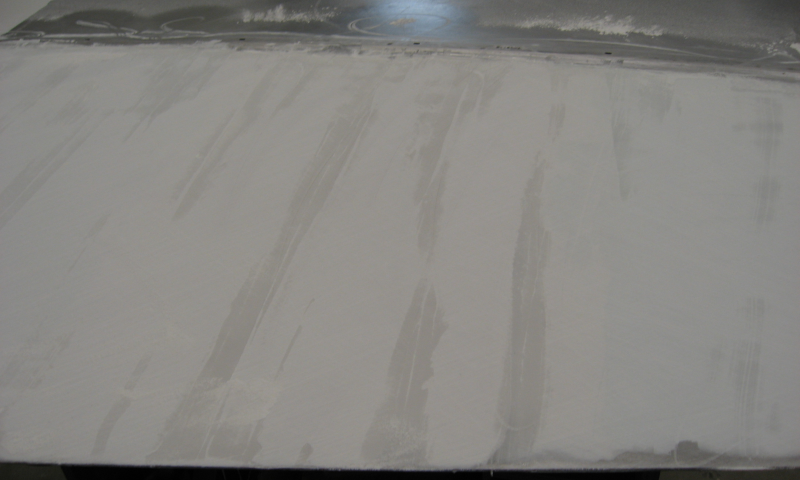
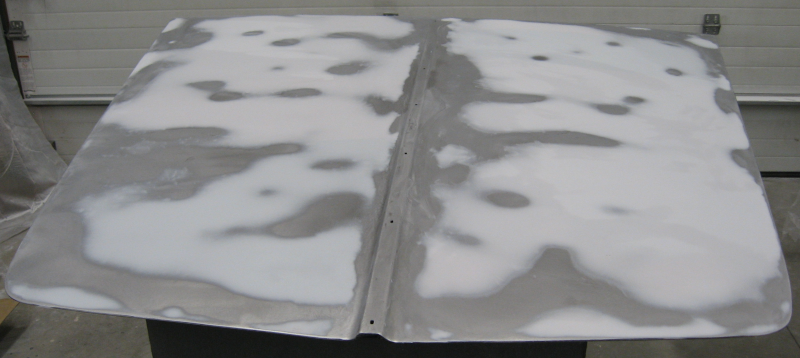
With the paint gone a thin coat of body filler was applied and worked with the body board to produce a completely flat surface. Here you can see the high areas have been sanded down and low areas remain.
Working large areas of filler with a body board is a huge amount of work. After a couple of hours of back breaking (and shoulder breaking and biceps breaking and wrist breaking) work to get partially done I called it quits for the day and headed inside to order power tools.
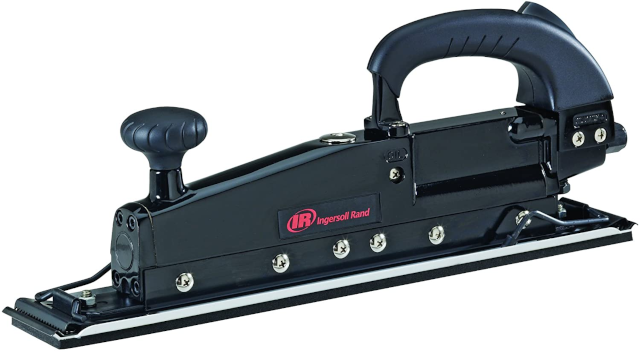
A jitterbug, more properly a straight line air sander, is the tool of choice in body shops. A jitterbug is fast – too fast if you don’t know what you are doing. The general recommendation is to use a manual body board until you learn how to work filler. I decided that I had learned enough with the manual board and was ready for the pro tool!
The jitterbug loaded with 36 grit sandpaper made short work of rough shaping the body filler. The bare metal represents the high spots and the filler has filled in the low spots. The hood was already fairly flat, so the filler is less than 1/16″ thick. After finishing the shaping with 36 grit, 80 grit sandpaper was loaded onto the jitterbug to get rid of the deep scratches left by the extra coarse 36 grit sandpaper.
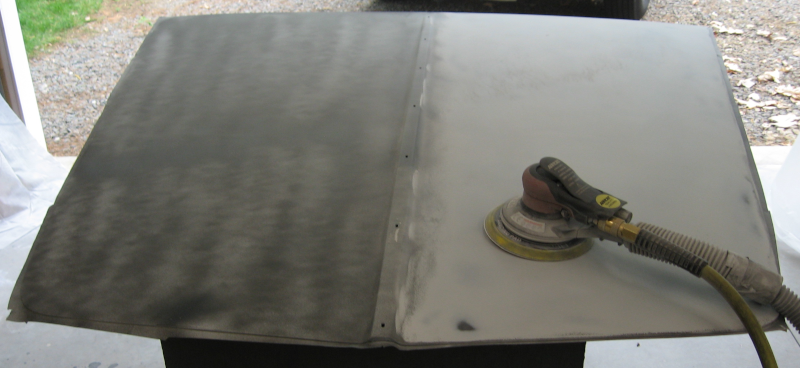
With the rough shaping done the next step was to perfect the surface. Two coats of epoxy primer were sprayed onto the hood to seal it and provide a foundation for high build primer. Two or three coats of high build primer were applied, followed by a light guide coat. The DA sander was loaded with 180 grit sandpaper and sanded until all of the guide coat was gone.
The main purpose of the high build primer is to fill in the sanding scratches left by the 80 grit sandpaper in the previous step. After sanding with 180 grit another guide coat is sprayed and a final pass with 320 grit sandpaper to remove the 180 grit scratches finishes sanding.
You might notice that the DA sander has two hoses attached to it – an air hose and a mystery hose. The large hose is attached to a shop vac and pulls sanding dust through holes in the sanding disk. This new sander greatly reduces the amount of sanding dust released onto the air and should minimize cleanup. We will see how it works out – initial results are encouraging.
Two coats of epoxy primer seal the high build primer and provide a surface ready for the actual paint.
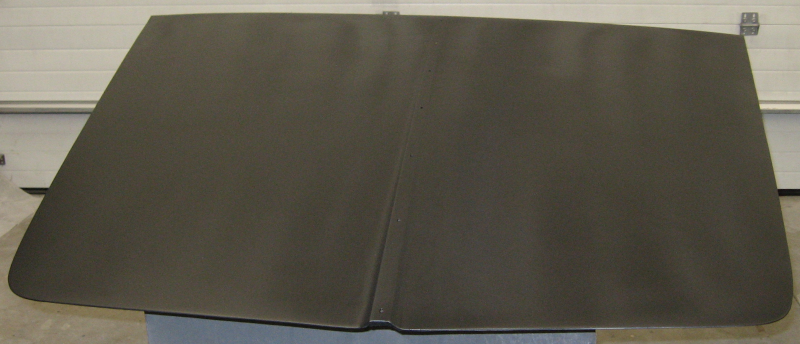
There is a little bid of banding in the epoxy primer because I sprayed it with a small finish gun that makes it difficult to smoothly cover large surfaces. In the future I need to use a full size spray gun for these larger jobs. The small gun is great for smaller areas and provides better fine control – you just need to use the right tool for the job at hand.
The hood came out quite nice. All that is left is the other 90% of the car… Which we tackle in I’m a Stripper…