
After several weeks of travel it was back to the Imperial. First job: remove that nasty “patch” mentioned in the previous article I’m a Stripper… The pop rivets drilled out easily, but for some reason the flange on the bottom of the patch was attached by screws. Which were firmly rusted in place. After application of two different impact guns, vice grips, and high explosives (actually the high explosives were only considered; I ended up substituting strong language instead), the screws finally came out and the panel came off.
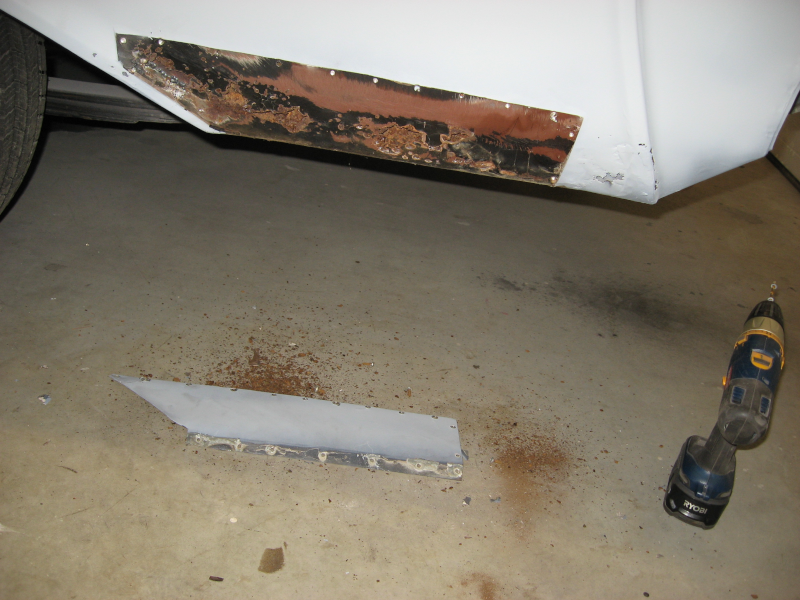
Yeah, that’s not good. That whole area needs to be cut out and replaced with solid metal. There are also rust holes several inches beyond the “patch” panel. Of course this leads into an area with complex curves.
You know the drill by now: divide the large complicated damaged area into several smaller and simpler areas. Create and fit a cardboard template for the first area. Repeat until you have a template you are happy with. Transfer the cardboard template to sheet metal and cut it out. Form this new sheet metal patch to the contours of the car. When you are happy with the fit, trace around the patch panel onto the car body and then cut out the damaged area. Grind the edges of the patch and the body until you have a good fit. Stitch weld the patch in place and grind the welds. Stitch weld the gaps and grind down the new welds. Repeat until all of the seams are solid.
The first patch covers the center of the rusted area. This area is curved in a single direction and is fairly easy to fit.
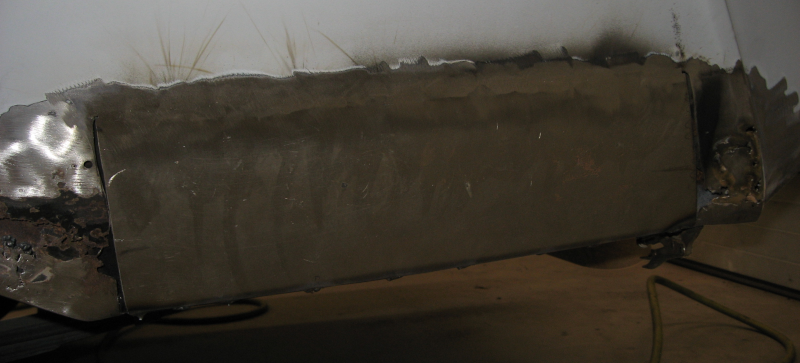
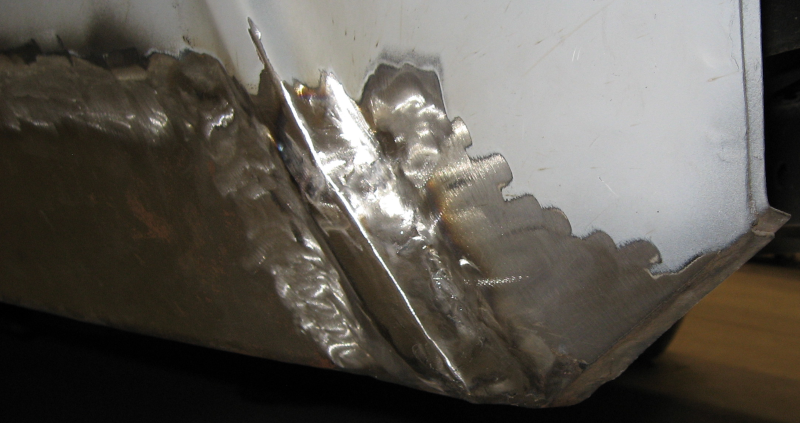
Repeat this process with additional patches. This incremental approach lets you fit each new patch to both the previous patch and to the shape of the car body – you don’t cut out any of the car body until you have fitted the patch that will replace it. Building up complex shapes out of small pieces makes it fairly straightforward to match the complex curves around the wheel well and the back bumper reveal.
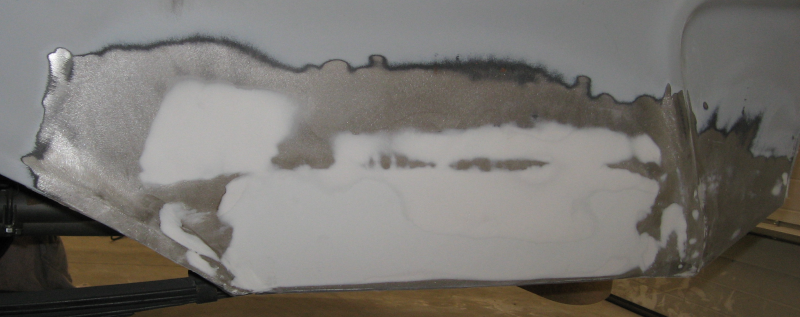
When everything is done you have a solid patch that replaces all of the rusted areas and matches the original curves and body lines.
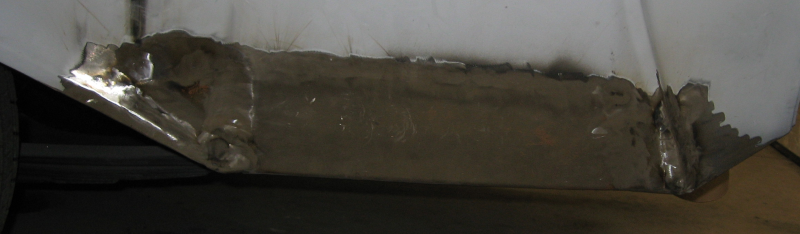
Can you tell exactly where the metal was replaced? If not that is a good sign! While the metal forming is finished the work isn’t done. The new metal, especially the seams, aren’t completely flat and smooth. Body filler is applied to the low areas and sanded down, leaving a nearly finished surface to be perfected later using high build primer and block sanding.
The other side of the car wasn’t much better, so lather, rinse, and repeat the process with a similar end result.
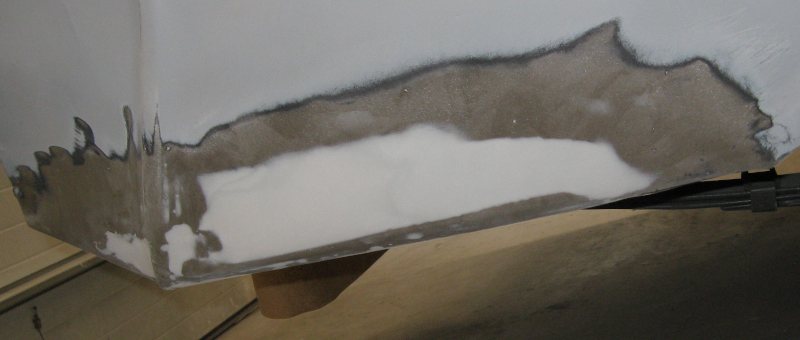
I’m fairly happy with how these patches turned out. The tricky areas, namely the wheel wells and the ridge for the rear bumper, are very close to the original – I don’t think you will be able to tell where the work was done. I had a bit of warping along the welded seam of the main patches – this is common with relatively flat panels. Normally you would planish the welds to minimize this, but planishing requires access to both sides of the weld for hammer and dolly work. The warping wasn’t severe and was corrected with minimal amounts of body filler but it still annoys me.
The frustrating thing about repair work like this – if you do a good job no one will know that you did anything…
Next: fixing problem gauges with Electrical 14: MeterMatch.