
When we last saw the Imperial in Handle This! it was ready for paint and little more could be done until paint was completed. Life continues, even while waiting for the Imperial to get into the paint shop.
She Who Must Be Obeyed has indicated that the screened in porch attached to our deck has come to the end of its useful life. And she is right. She wants the replacement to be a real room with glass windows – windows that can be sealed during the dreaded Pollen Season (also known as Spring in New England) that puts a thick coat of toxic green muck all over everything.
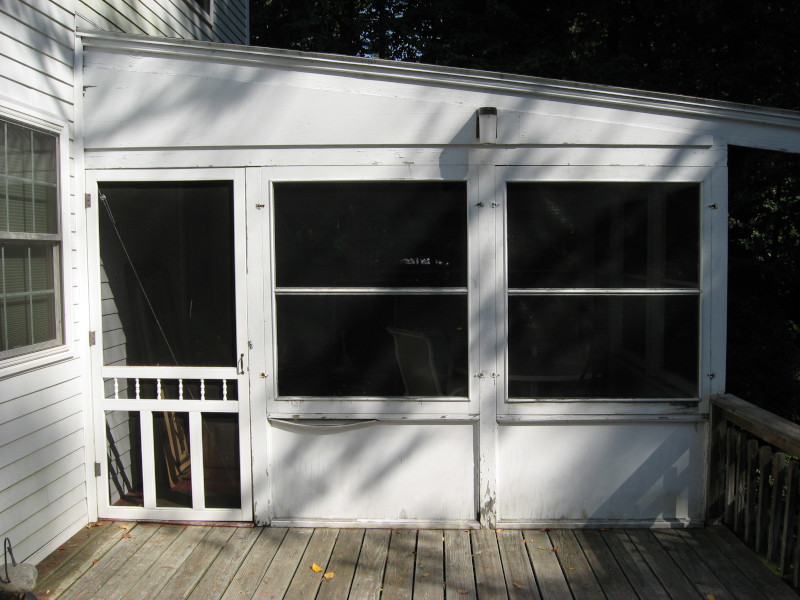
The ultimate plan was to replace the floor, replace the walls, install new double hung windows, install a storm door, and finish off with siding to match the rest of the house. Basically, everything but the roof and the floor joists will be replaced.
Time to dig out the CAD software and start designing. An early decision was to try to use windows the same size as the existing screens. These screens are either 3-1/2′ or 4′ wide by 5′ tall and fill all of the available space. Because of this decision I spent the entire project fighting for fractions of an inch of clearance to make it work. In retrospect it would have been much simpler to make each window six inches narrower. But what is the fun in that?!?
Since we are still coming out of the COVID pandemic with its related supply chain problems, building materials were hard to find and had long lead times. The windows we were originally looking at had a 5-6 month lead time. We found other windows that would work and had a “mere” 10-12 week leadtime. OK, that should give us just enough time to complete the project before winter sets in.
Building permits also proved to be an issue, ultimately taking seven weeks. But we finally got them. With permit in hand, windows on site, a large order of 2×4’s and plywood stacked up, and a dumpster delivered, we began the project in the usual way – destruction!
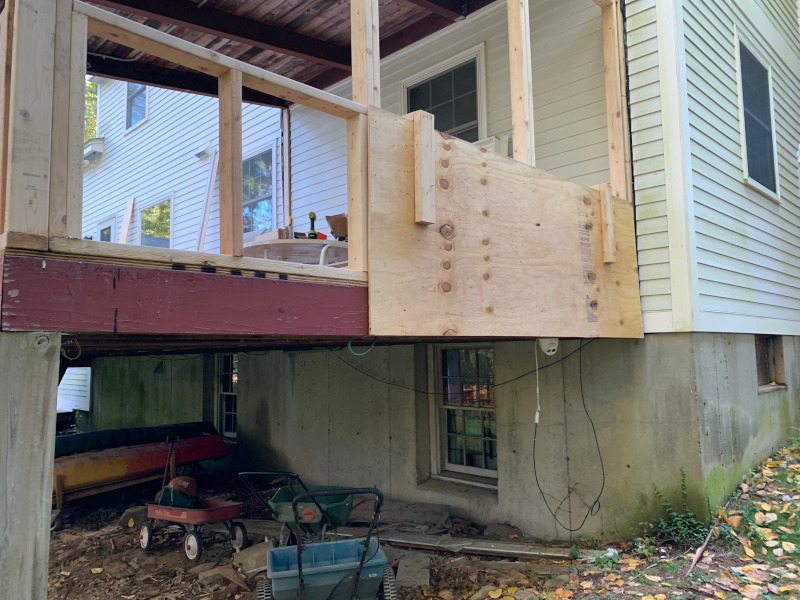
The existing walls were set on top of the floor and had to be removed before the floor could be replaced. Which left the roof unsupported. So, step one was to jam some sixteen foot 2×4’s as bracing between the roof beams and the ground. Done properly this would support the roof while the load bearing wall was replaced. Done improperly everything would come crashing to the ground. Probably with me under it…
The non load bearing end walls were easily removed. The load bearing side wall was taken apart, leaving nothing but four columns holding up the roof. Taking a deep breath, a Sawzall with a demolition blade sliced through the support columns leaving the roof balanced on the 2×4 braces – where it peacefully sat with no complaints. And there was quick rejoicing!
The existing floor, including rotted areas, was rapidly ripped up and replaced with 3/4″ plywood. The new sidewall was framed up flat on the deck, carried into the porch, and tipped up. This was the moment of truth – if the new sidewall fit into place all of our concerns were over and the rest of the project would be (relatively) stress free. The new wall was tipped up – and was a fraction of an inch too high. Which was perfect! A few “gentle” taps with a 10 pound sledge hammer and the new wall was in place with the roof firmly supported. Structural screws quickly secured the wall to the floor joists and the roof beams and the structure was sound and safe. And there was much rejoicing!
With the side wall in place, the end wall was framed up and tilted into place. Sheathing was installed to secure and seal the walls and provide a mounting surface for the windows. The 1/2″ plywood sheathing is awkward to hold overhead, especially for one person.
Mulling over the problem I came up with a set of brackets: cut the plywood to size, screw the brackets on, and lift the plywood into place while hooking the brackets into the window opening. Then line up the sheathing exactly where it is needed and run in some starter screws. With the sheathing now supported, remove the brackets and drive screws into the studs every 8″ to fully secure the sheathing.
The rest of the sheathing was smaller pieces and was easy to install.
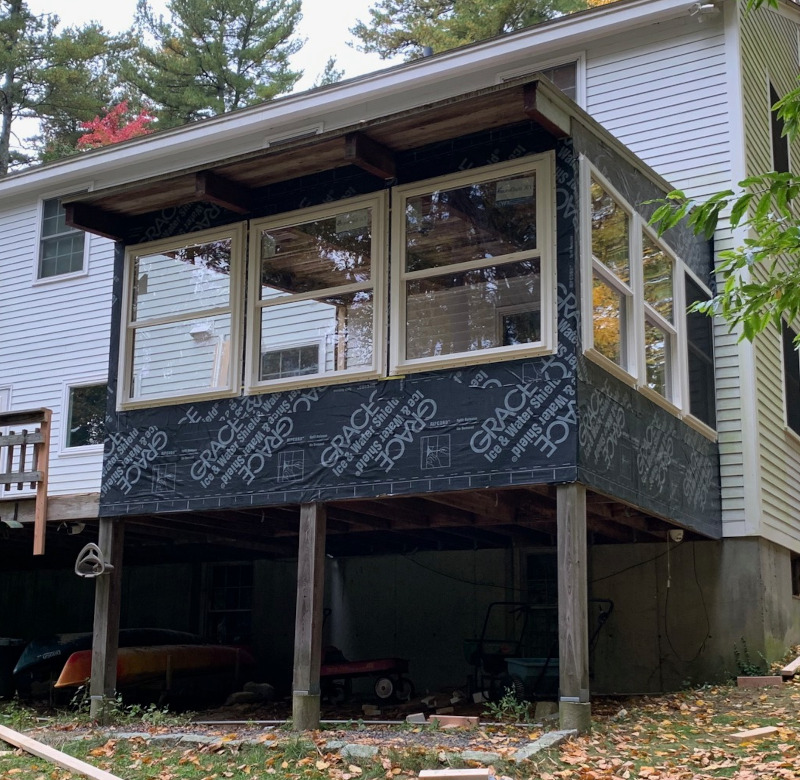
One of our big concerns was water – we wanted to make sure that the new porch stayed dry and didn’t rot. Since it is mostly windows we decided that it was cost effective to cover the entire porch with Ice and Water Shield – a roll of sticky back rubber sheet that is commonly applied to roofs to avoid water damage from ice dams. The windows were then installed and flashing tape (a sticky rubber tape) was applied to the window flanges. There should be absolutely zero water problems after all of this!
After finishing installation of windows and doors it was time for trim and siding. We have a goal of zero maintenance, so exterior materials are chosen to be maintenance free. Trim is Azek, a plastic material that is weather resistant and never rots. Expensive, but never has to be replaced. The rest of the house is sided with HardieBoard, a pre-painted composite cement board that is waterproof and comes with a 30 year paint warranty, so HardieBoard is also used here. This is another material that is expensive but we should never have to touch again.
The end result looks pretty good:
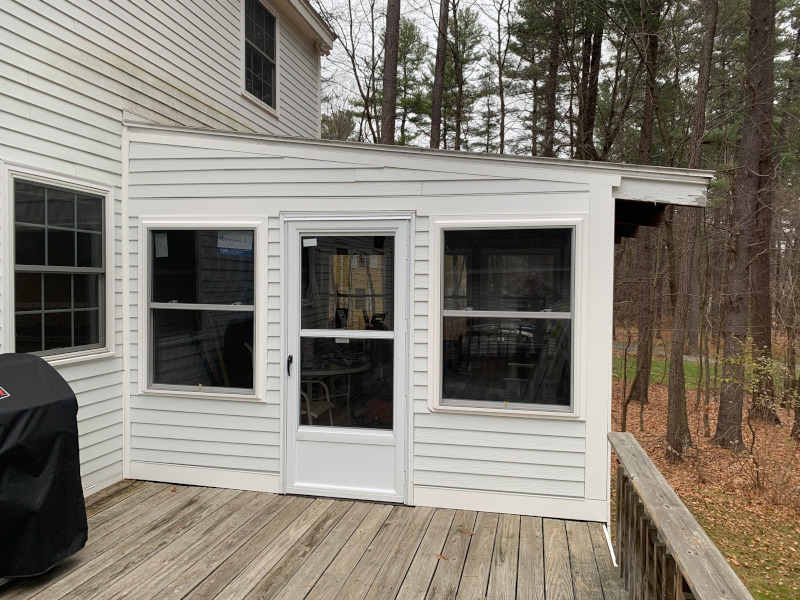
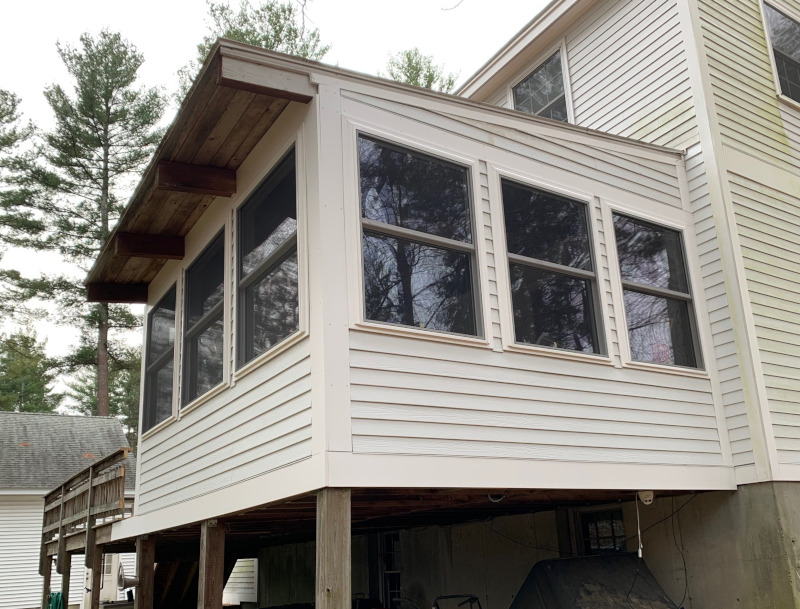
Of course there is still more work to do – electrical installation and finish flooring as well as replacing the main deck and adding new railing. But the exterior work on the Three Season Room has been successfully completed before winter sets in.
I’m claiming this as a win!
Next: Back in Black! – the Imperial has a fresh coat of paint.