
It turns out that the third time is a charm! I ordered an airbrush kit – specifically the Neoeco Airbrush Kit. Next step was going to YouTube to learn how to use an airbrush. Amusingly I found a review of this exact kit. Looks like I made a good choice!

An airbrush is the perfect tool for small touchups. It puts out a narrow band of paint, around 3/8″ to 1/2″ wide with excellent control of where the paint is going and little overspray. The air control in the airbrush lets you easily control the flow of paint, which is perfect for blending the edges of the area being touched up.
Since airbrushes only use a tiny amount of paint I ordered even smaller mixing cups – 1 ounce – and disposable droppers marked in CC. For touchup jobs I’m mixing up 5-10 CC of paint – which is 1-2 teaspoons of paint. And it is still more than needed for most touchup jobs!
Spot repair with the airbrush is easy. If you have a chip, first sand it out smooth and blend the edges. Spray two coats of base color paint, heavy in the center and blending out away from the center. Follow up with 2-3 coats of clearcoat, again heavy at the center and blending out from the center.
I’ve had success sanding the finished spot repair with 3,000 grit sandpaper followed 5,000 grit. With good blending while spraying you can even start with 5,000 grit.
The spot repairs went quit well – better than I really expected with this basecoat/clearcoat system. Applying color over clearcoat is usually obvious, so I was pleasantly surprised with the results.
Unfortunately the paint is getting thin around some of the areas where I sanded through. Sanding out the repaired spot tends to sand through the adjacent areas, leading to a chasing your tail situation. I decided to leave well enough alone and accept some (minor) flaws.
With the spot repairs done, the last stage was wax. After reading a bunch of reviews I ended up using Turtle Wax Pro to the Max Graphene wax. The reviews claim it has great gloss and durability. This ended up being an easy job. I applied the wax using the polisher with a Griot’s Garage Waxing Pad. This made short work of applying the wax. After the wax dried a wet towel removed the haze and excess wax and a quick polish with a dry towel finished the job.
The final result is good – good shine, good reflections even with black paint, and good depth. Unfortunately there is a slight haze in the paint, apparently in the clearcoat itself, that can’t be polished out. It looks good, but doesn’t “pop” quite the way I had hoped for.
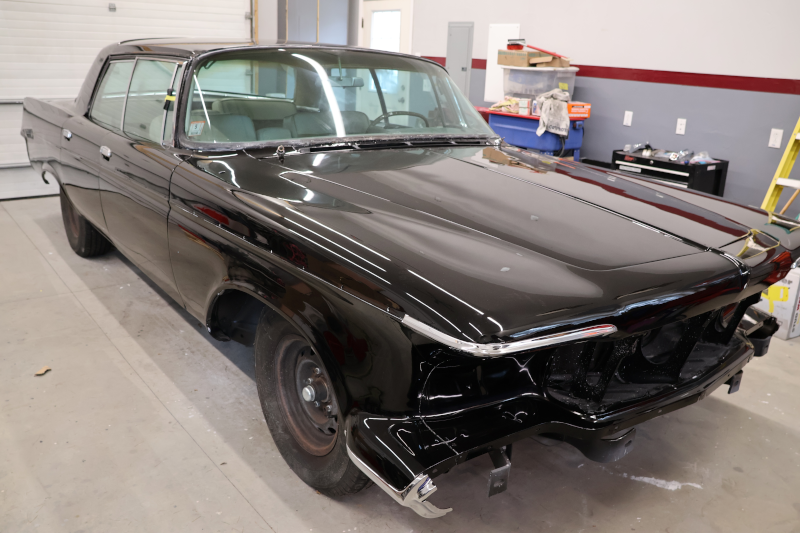
Note: the dots in the hood aren’t paint defects – they are reflections of an electrical outlet cover plate in the wall behind the car. This final result does have good gloss, depth, and reflectivity. All in all, the body is straight enough to get away with the black paint job. I’m pleased with the final outcome.
Now to start putting the car back together. I couldn’t wait and had to start installing some of the freshly chromed trim. This is going to look fantastic!