
The original plan was to restore the Imperial in three stages: mechanical, paint and body, and interior. The original plan was also to accomplish each stage in a year, with three years for the total restoration. I’m now nine years into the project…
The first two stages are largely done. Some work remains, like HVAC and a new sound system, but the drive train, paint, and chrome are done and the car is on the road. It is now time to move to the third stage of the restoration: The interior.
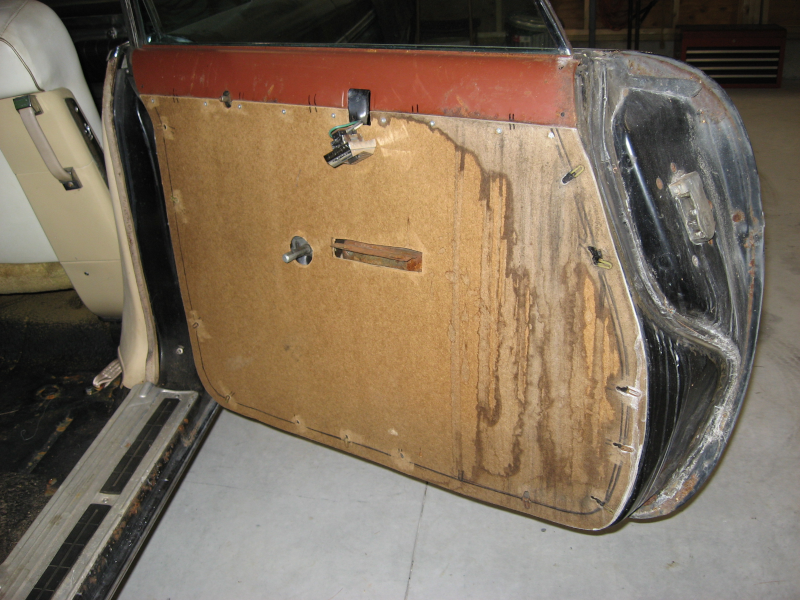
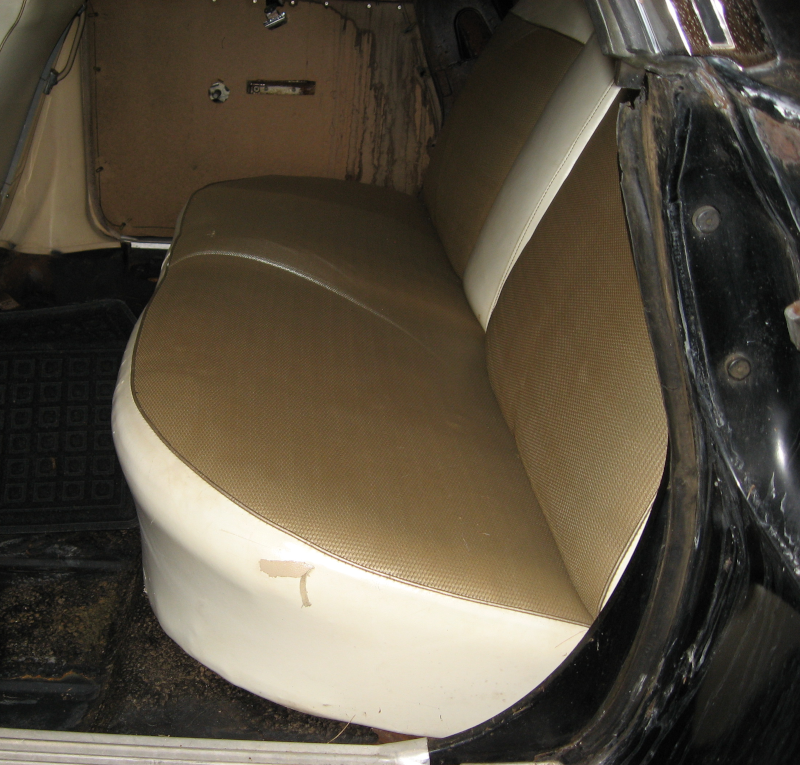
When the Imperial arrived, the interior was the worst part. Start with bare floorboards with no trace of carpet to be found. The front door trim panels were in decent shape, but were tired. Someone had started to replace the rear door trim panels, and had cut and fitted hardboard panels to replace the factory cardboard. There was no covering on these panels – they were just bare hardboard. They weren’t even on the doors – they were in the trunk. Some smaller trim panels were missing completely and need to be made from scratch.
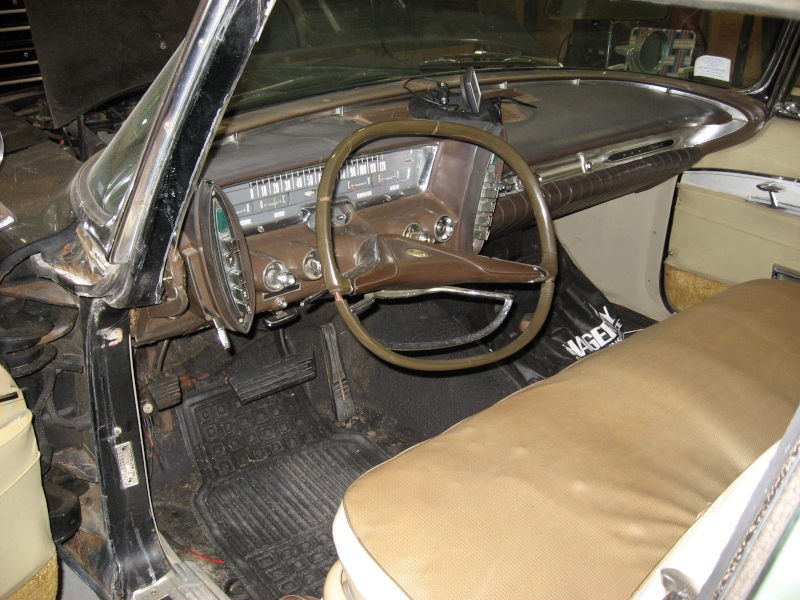
The seats had been re-upholstered at some point many years ago. Unfortunately they used a cheap vinyl that didn’t match the rest of the car. This vinyl is old, cracking, starting to tear, and dirty. Actually, it was filthy when I got the car – one of my first projects was a good cleaning of the interior!
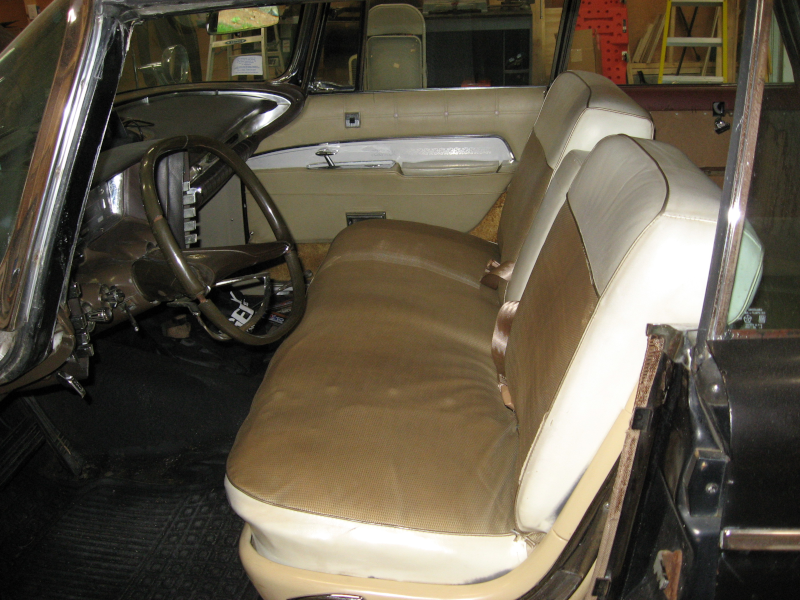
The seats also have some structural problems: the drivers seat is very soft with little support. I don’t know if this is a problem with the foam, weak springs in this area, broken spring supports, or something else entirely. While fine for short drives, this is not comfortable for longer drives. The rear seat has some springs actually poking through the cover – certainly not comfortable! When I took the rear seat out there were chunks of old degraded foam all over the floor.
The one bit of good news is that the headliner has been replaced. The new headliner is high quality, extremely well fitted, and looks great. Since it is difficult to do a good job installing these old style headliners I have been very careful not to disturb it! This has had some downsides – I wasn’t able to install any sound deadening material or insulation in the roof when I was doing the rest of the car, and I wasn’t able to install mounting points for a shoulder harness so only seatbelts have been installed.
Special skills and equipment are needed to do upholstery and interior work, so I tracked down a good interior shop and got a quote.
$15,000.00. Plus materials – leather would probably add another $3,000-$5,000. And over a year before they could start on it.
Not happening.
Anyone who has been following this little saga will have realized that I have very little sense of self preservation. After a bit of research my thoughts ended up at “well, I learned how to do bodywork and welding, so I should be able to learn upholstery and sewing.”
If I plan up front to start with practice pieces to learn on, take my time, and stay willing to start over and re-do things until I get it right I should be able to get acceptable results. Right?
She Who Must Be Obeyed has many years of experience sewing and is laughing at me. She points out “you know, it isn’t as easy as it looks on YouTube.” Yeah, I’m aware of that… She also has the sense to stay well away from this project.
I also understand that skill is something you end up with, not something you start with. And this is a chance to get new tools!
So, join me as I get frustrated and annoyed, pound my head against a brick wall, and hopefully able to eventually give the Imperial an interior to be proud of!