
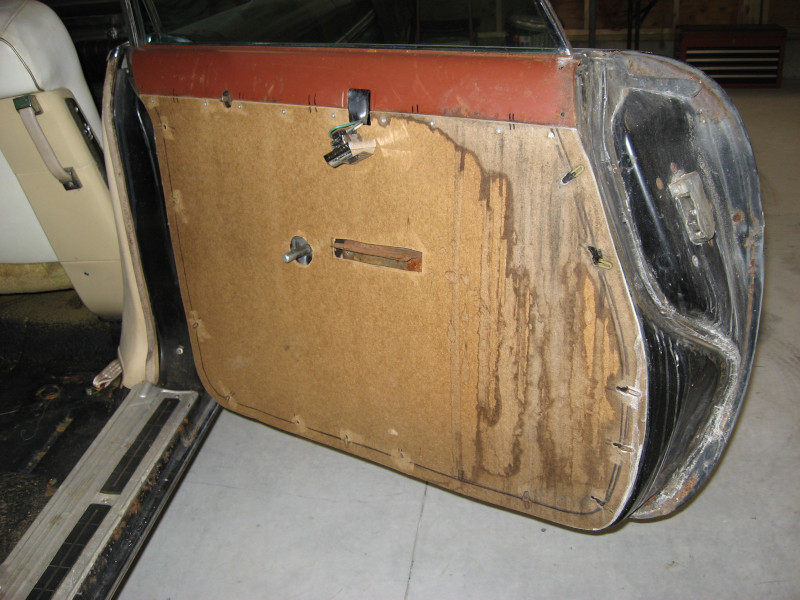
In addition to the seat covers the door cards need to be replaced. Someone had started to do this job on the rear doors – the factory cardboard door cards had been replaced with hardboard, but had not been covered. The arm rests and door handles were in the trunk.
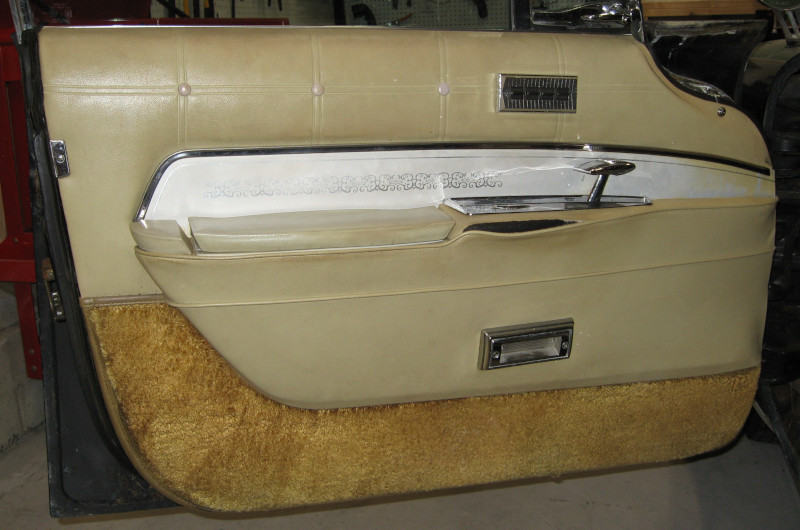
The front door cards still had the covers on them, so I had a reference to work from.
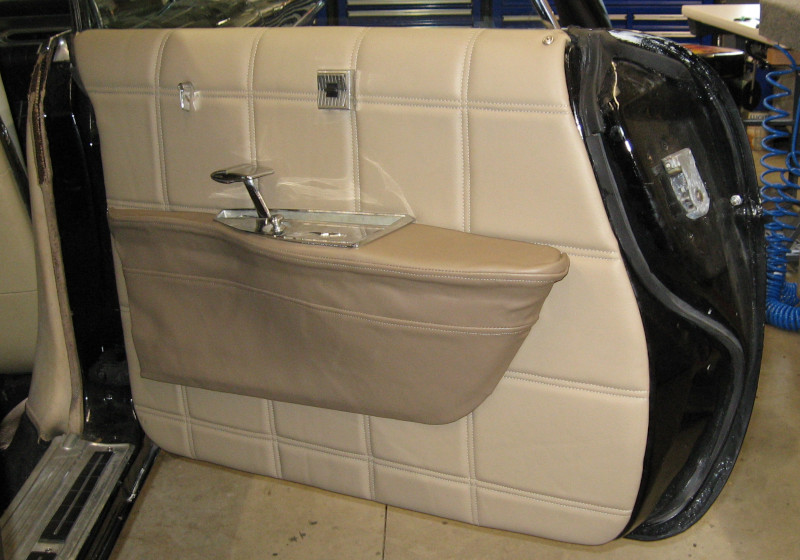
The door card itself is fairly straightforward – just use it as a pattern and trace it onto the vinyl. For a more luxurious appearance the vinyl will be backed with some of the 1/4″ sewfoam. I decided to sew through the vinyl and foam for a richer appearance, similar to the factory. The factory door cards had a double stitch, so I tried that on a test piece. I liked the way that looked and decided to use it.
The arm rests were a bit of a project. I started off trying to make a template from scratch, but quickly became frustrated. Fortunately I was able to salvage the cover from one of the rear arm rests, separate it into its three component pieces, and use these to create a template.
From there it was the usual routine of sewing the pieces together, fitting the new cover to the arm rest, and stapling it to the back. The end result wasn’t perfect, but I deemed it acceptable. Certainly better than what was there before!
The arm rests were done in the tan vinyl, same color as the seat inserts, to provide a bit of contrast.
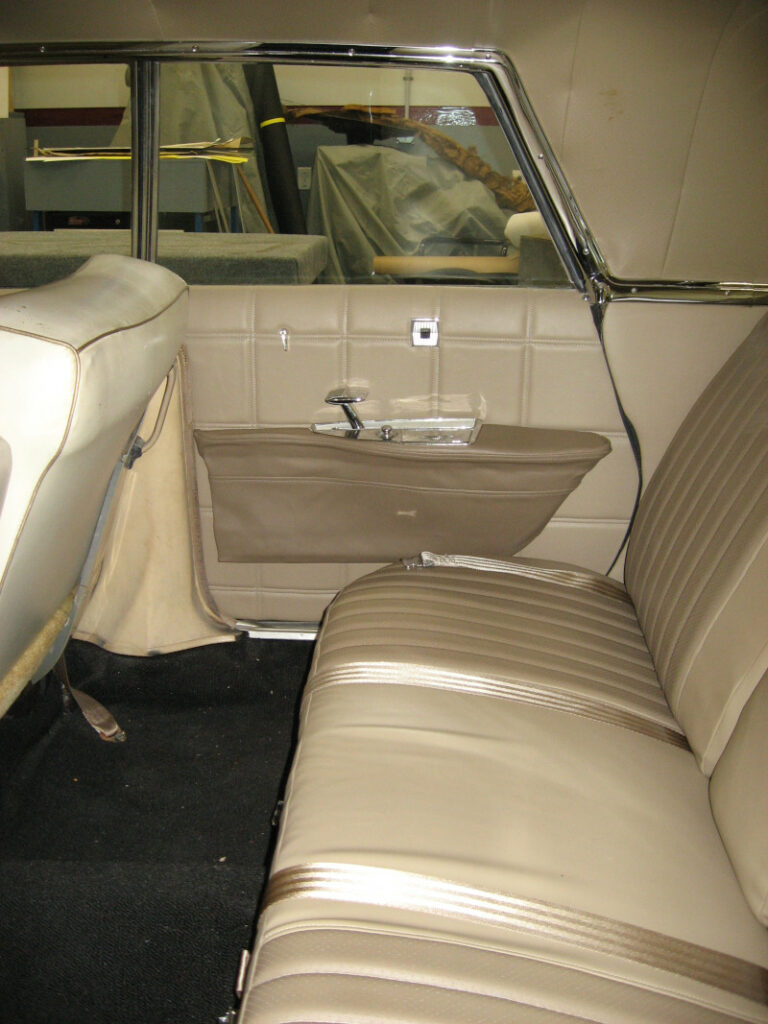
With this the back seat project it done. I’m rather happy with the way this turned out!
Now to move on to the front seats, using the lessons learned so far.