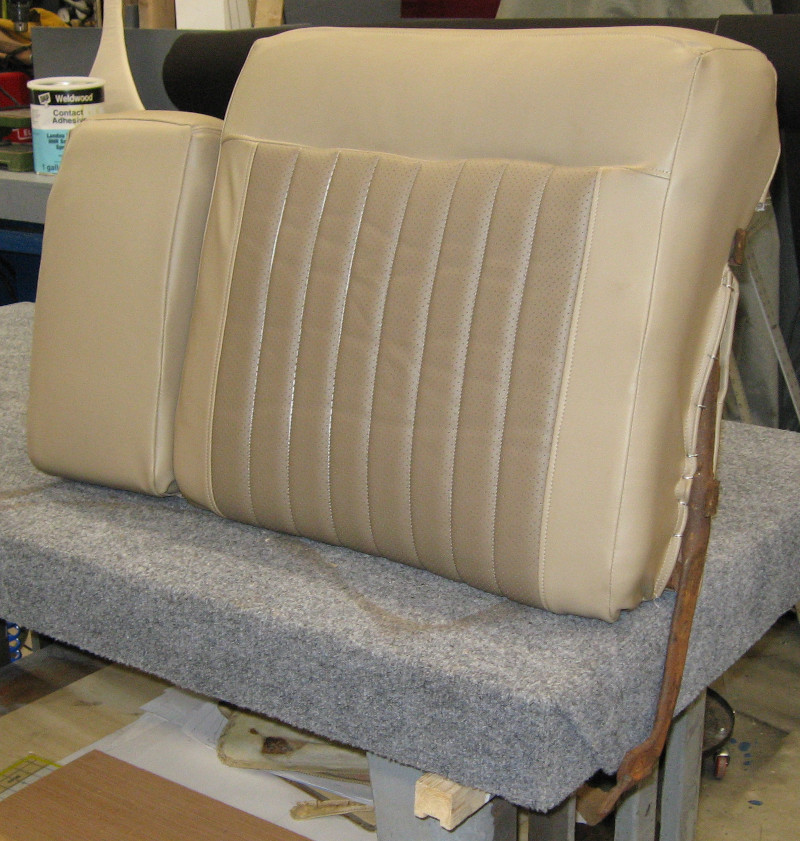
The seat backs were much like the rear seats with a few differences. Since all sides are visible the covers must cover everything. Unlike many cars there is a separate flat panel on the back of the seat – this should simplify the job.Like the rear seat, the seat back is in surprisingly good shape.
The job should be familiar by now: take apart the seat cover, use it to make templates, cut out and sew the new cover, and fit it into place. Easier said than done, but by now fairly routine. The only really tricky part is that the back of the seat turns in near the top – this makes the corner seams rather tricky to sew. Good thing I tackled the rear seat first! This would have been a major headache a few months ago.
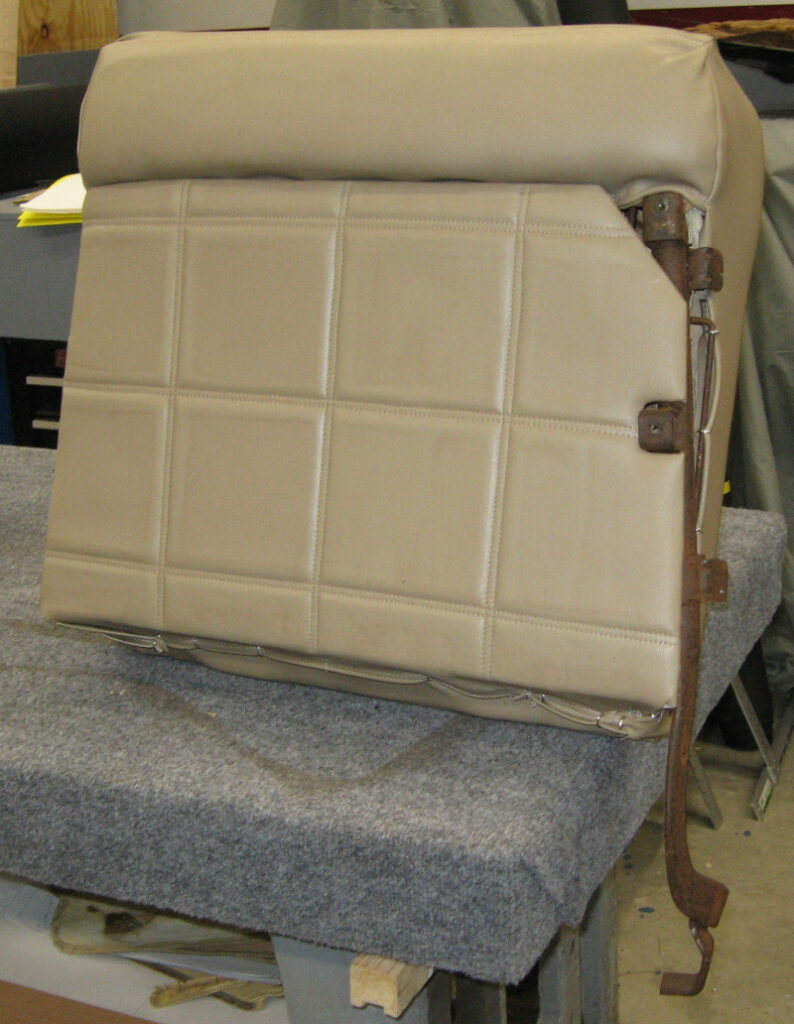
The cover for the seat back fit surprisingly well. Time to pat myself on the back and move on to the next part – the back panel. This panel is much like the door cards: 1/4″ foam padding, double stitching on a six inch grid, fold around the back and staple in place. The panels fit nicely – the whole seat back looks good!
The arm rest was the same process as the rear arm rest: strip off the factory cover, make templates, cut and sew the vinyl, and unroll the new cover over the foam, turning it from inside out to outside out. By some miracle this cover also fit well.
The end result was two seat backs and an arm rest ready to install.