Like other parts of the Imperial the radio has a story behind it. A story that I would love to know but will never discover…
It is a factory radio – has to be to fit the curved dash. State of the art for its day – one of the earliest radios to receive FM. And one of the early radios to use transistors – the six transistors in the radio are the only transistors in the entire car. Compare this to a modern car which has tens of billions (yup, billion with a “B”) of transistors in over a hundred plus separate computers. A modern car is a data center on wheels. But that is a different topic…
While it is a factory radio, it isn’t a stock radio. I don’t know what has been done, but the radio reminds me of Frankenstein’s monster. The case has been cut up and modified in several places. The tuning knob is connected to the tuner with a length of rubber hose and two hose clamps. A large hole has been gouged in the case where the antenna connector was, and the antenna connector itself is now a half inch inside the case.
The speaker and power wires aren’t stock – they are thin (20ga – 22ga) modern wires with printed foil labels saying things like “Right Speaker”, “Left Speaker”, “Power”, and “Ground”. And I can’t really tell what they are connected to inside the radio. Clearly something has been replaced inside the radio.
Having said this, the radio does work. For certain values of “work”. The tuner barely moves and only covers part of the radio band. It is too sensitive – turn it just a little and it will go through three or four stations. Even if you do manage to tune it to a single station it will drift over time. And the sound quality is, ummm, “less than audiophile”. But it is better than no radio.
I’ve gone through a few generations of connectors on the radio. Started with 1/4″ spade connectors and then moved to some smaller spade connectors. This involved individual connectors on each wire, requiring me to figure out which wires went where each time I touched the radio
This quickly turned into a nuisance. I wanted to wire up a single connector for all of the radio wiring. The thing holding me back is that the WeatherPak and MetriPak connectors I’ve been using everywhere else in the wiring are total overkill – too big, too bulky, way more current carrying capacity than needed, and difficult to connect to 22ga wire.
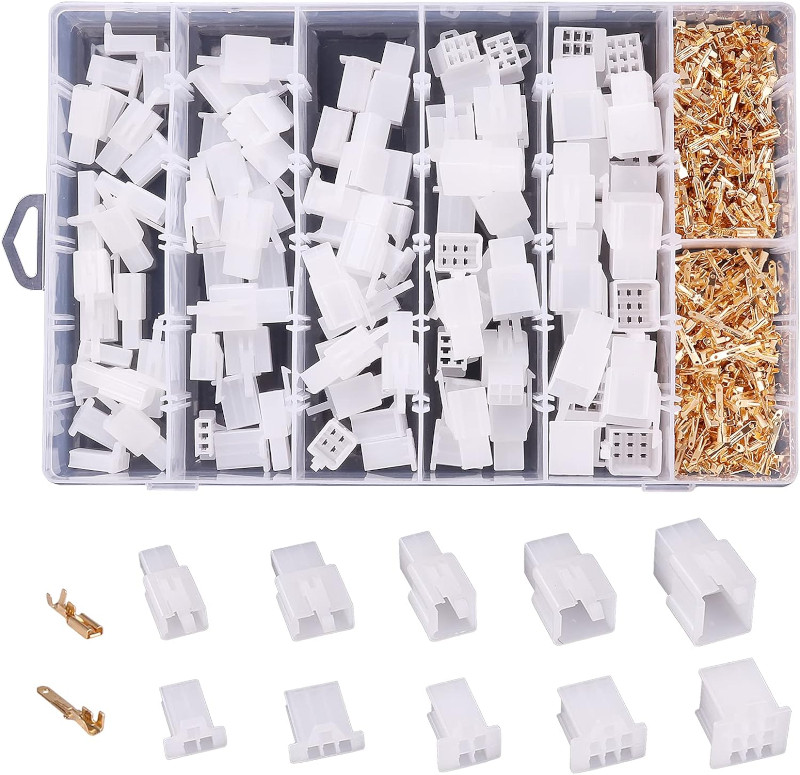
After a bit of research I decided to try some “automotive connectors”. These are much smaller connectors, not waterproof, support one to nine wires, and work with thin wires.

I needed a minimum of four wires to connect the radio.However (you just knew this was coming!) it would make sense to go bigger. I’ve run the wire for two rear speakers – this was easy to do when everything was apart for paint and interior. And there are two speaker wires coming out of the radio; might as well connect both. Even though only one seems to work…
So, eight wires to connect. A nine pin connector it is!
Those smaller terminals and the finer wire… Yeah, it took some experimentation to be able to get reliable crimps with them. One of the reasons for getting such a large connector set is to have plenty of parts to screw up. No – of course what I meant was plenty of parts to experiment with and learn on!
After learning how to crimp these smaller parts came the joy of inserting the connectors into the nine pin body. Recall that the male and female connectors have to be wired up mirror image of each other. I of course got it right on the first try. The initial three attempts were just a learning exercise, so they don’t count!
In any case, the radio is now working and it is much easier to remove it and re-install it. And I’m ready if I ever get around to replacing it!
