While the K1000-X controller was fully functional the software development environment didn’t come with the packaged effects I wanted. It provided the tools to develop them, but didn’t include the ones I wanted.
There was an effects package available, but it cost. It wasn’t very expensive, but wasn’t widely available, didn’t have reviews, and I was reluctant to enter my credit card information on a web site I already considered somewhat sketchy.
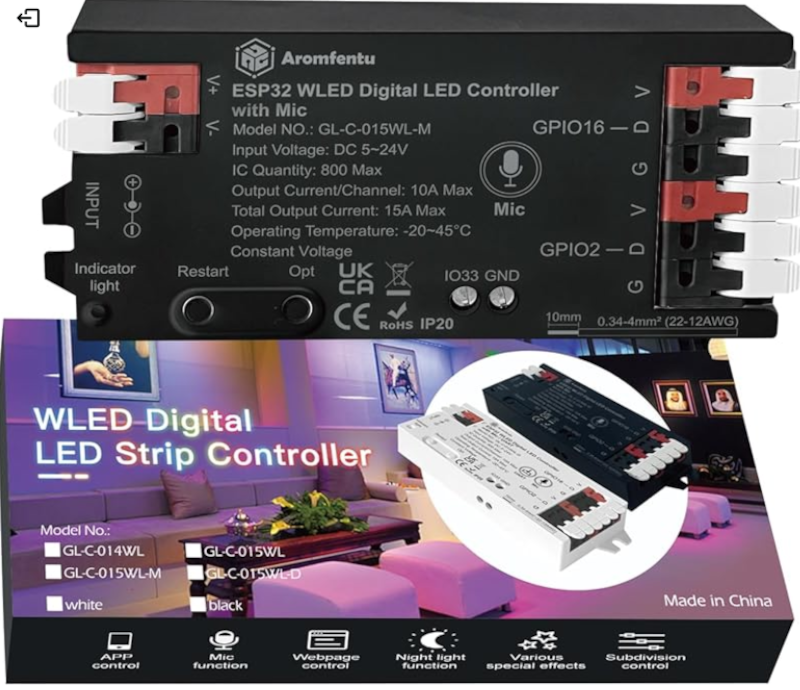
I actually bought two controllers: the K-1000C and a simpler controller that supported the Open Source WLED software package. Specifically, the Aromfentu WLED Controller ESP32. There are many controllers like this available so this was a somewhat random choice.

WLED runs on an Arduino microcontroller. My initial thought was to get an Arduino development kit, learn how to program an Arduino and WLED, get the lighting effects I wanted, and finally transfer a completed program to the production WLED controller.
I started with the K1000-C controller because it looked like it was easier to transfer lighting effect programs to it – develop a lighting program on the PC, copy it to an SD card, and plug the SD card into the K1000-C. And it actually proved that easy. On the other hand, it looked like programming the Arduino would involve re-flashing the software onto the microcontroller – a much more involved process.
As I looked more closely at the Aromfentu WLED controller I discovered that it had a WiFi interface. And a built in webserver. With complete control of lighting effects. And about 100 included effects. Not to mention multiple instructions and tutorials available. This requires closer investigation!
Connect the WLED controller to the 8×32 panel – we are looking for 2D capabilities. Drag out a laptop with WiFi. Power up the WLED and check the laptop. Hmm, there is a new WiFi access point showing up, just like the instructions claim. Connect the laptop to this access point and in does, indeed, connect. Following the instructions point my browser to IP 4.3.2.1 and bingo, I’m in the WLED control panel!
At this point they really want you to connect the WLED controller to your local WiFi network and put it on the network (and the Internet). But you don’t have to, you can continue accessing it as a local device. Which I did since I don’t like to have dumb devices like this exposed on the Internet.
Once in the WLED control panel I lit up the 8×32 LED panel and started poking though the effects library. Wow – just what I was looking for! Some of the effects were meh, many were OK, and several were “I rather like that one”. Some more poking, Interneting, and experimenting and I had a set of nice effects running in a loop. Power the controller up and it runs the effects loop until you turn it off. And there was much rejoicing!
With all of the individual pieces working it was time to build the actual tree!
