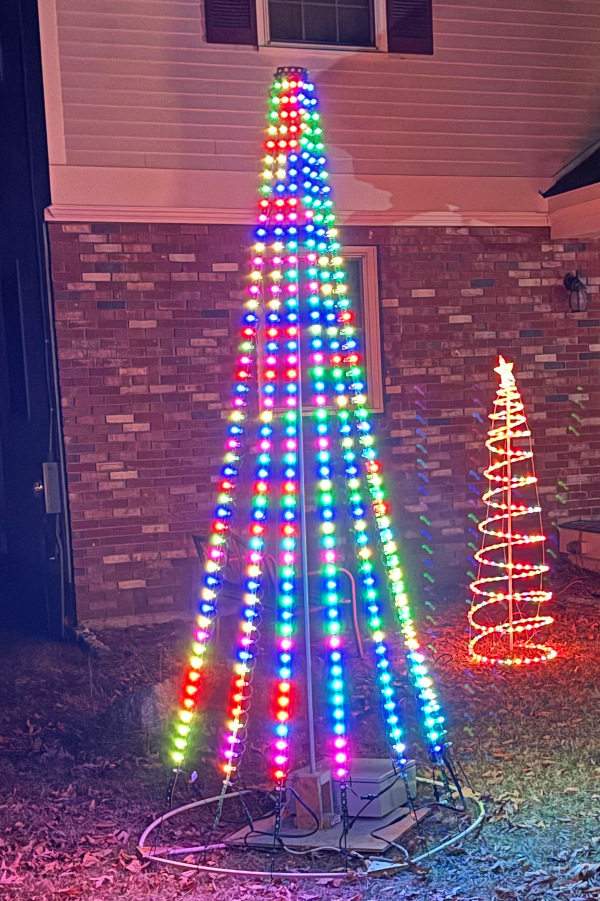
With everything done drag the Mega Tree into the front yard and plug it in. And commence with the light show. From the street everything looked great!

She Who Must Be Obeyed had immediate feedback; “Looks good. Needs a back – it should be a whole tree, not a half tree. And needs a star on top.”
To be honest, fair feedback. I originally made it as a half tree to save money. And to make sure everything worked. A half tree looks great from the road, but from inside the house all we see is the back of the tree. Yup, doesn’t look good…
As for the star, I couldn’t find one small enough. The ones I could find would push the tree over the power and controller limits.
With my new marching orders it was back to the drawing board for upgrade planning.
Filling in the back of the tree was easy: just order another eight strings of lights making a total of 16. It looked like I should have enough of the pixel strip backing to finish the tree. Thinking about it, I should order nine strings to have a spare. Just in case something goes rwong…
Doubling the number of light strings doubles the power requirements. To 260 watts. Which was bigger than the 200 watt power supply could handle. I should have spent the extra $5 for a bigger power supply. Add a 300 watt power supply to the order.
With the electronics on order shift over to another search for a star. The big problem with most stars is that they use 150-200 lights, which is three or four strings. This would push me over my power budget and the number of pixels a single controller could handle. I didn’t want to set up a completely separate power supply and controller just for a star!
This time around I found a star from Holiday Coro that only used 50 pixels – a single string of lights. OK, this should barely fit into the power and controller budget. Price was reasonable at $15 – plus $17 shipping. Normally I refuse to spend more on shipping than the part, but I went ahead and did it anyway.
I absolutely hated the original base I built. With everything coming back for upgrades a new base was added to the list. From another recent project I had a 4’x4′ square of 3/4″ plywood. Draw a 4′ circle on it, measure spacing, and drill 48 holes. Yes, you read right. This includes 16 spaced holes plus a hole on each side for a total of 48. To secure the pixel strips to the base I ran nylon zip ties through the two outside holes which centers the pixel string over the initial hole and keeps it straight without twisting. Next build a box to hold up the center pole. Pieces of 2″x4″ screwed to the bottom get the plywood up off the ground. Finally, hit it with a coat of paint for looks and weather resistance.
