
A set of fabric covered U-shaped trim pieces hold trim panels to the center pillars of the car. These are in absolutely horrible shape. I’ve been looking for replacements for the last four years with no success. And I’ve been afraid to touch these lest I totally destroy them, leaving me up the excrement waterway without a manual propulsion device.
After finishing the rest of the interior these pieces were really bugging me. With considerable and painful cogitation I dreamed up an almost plausible way to cover them with vinyl.
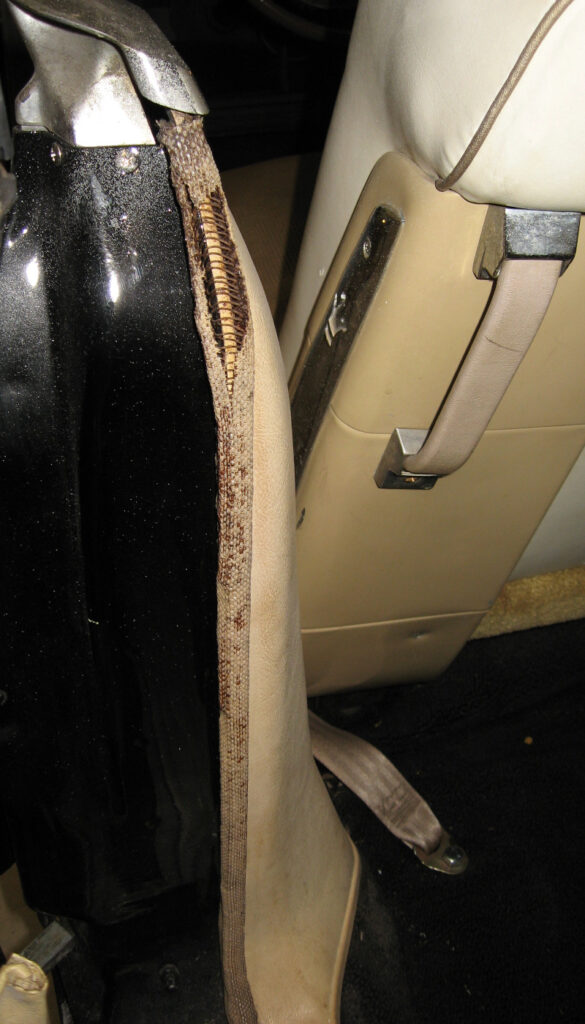
Yeah, that’s ugly…
Applying a liberal dose of fast setting epoxy to secure my courage in place, I removed the first piece of U-channel and tossed it onto the workbench.
Measurements and careful calculation suggested that a strip of vinyl 2-1/8″ wide would cover them.
Point of no return – carefully cut the cloth covering off of the wire spine. I’m officially committed!
My biggest concern was how to hold the wire spine and vinyl in place while wrapping the vinyl around the U. And how to secure the vinyl cover to the wire spine. The answer, which gave me the impetus to finally start this job, was three steps.
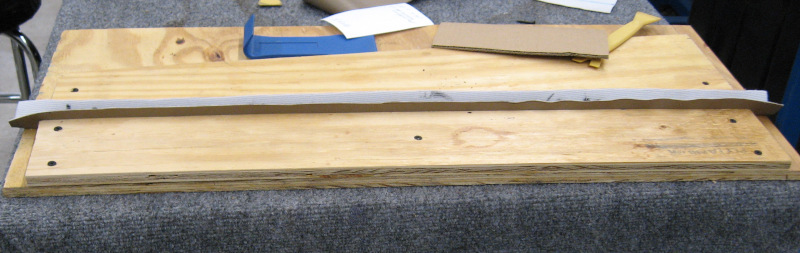
First, make a fixture to hold the vinyl and wire spine. This was done with two pieces of plywood spaced just the right distance apart making a channel for the vinyl and wire spine:
This holds the vinyl in place, but how to keep the wire spine from moving when I fold the vinyl over the edges? This is the step that kept me from touching these pieces for several years. I have a clear nightmare vision of trying to keep the vinyl centered while wrapping it over both legs of the U as being a a four or five handed wrestling match with a dyspeptic python. While everything is liberally coated with glue.
Thus the second step – run a bead of urethane adhesive down the bottom of the vinyl and bed the wire spine into it. This locks the vinyl and wire spine together.
This made it “easy” to wrap the vinyl into the center of the U – but how to hold it in place once wrapped? The solution was a liberal application of contact adhesive to the vinyl backing and to the wire spine. This is rather weak – the wire spine doesn’t have much surface area to bond to. But it doesn’t have to be strong – it just needs to hold the vinyl in place long enough to install the trim piece. The spring action of the wire spine locks everything into place after installation.
Between the plywood fixture and the urethane locking the spine to the vinyl it was surprisingly easy to smoothly wrap the vinyl into the center of the U. Coat the vinyl backing and the wire spine on one side with contact cement and give it 10 minutes to set up. Start at one end and carefully roll the vinyl over the edge. Every few inches stop and press the vinyl firmly against the wire spine with a plastic body and trim tool. Continue until one side was done, then flip the fixture around and repeat on the other side.
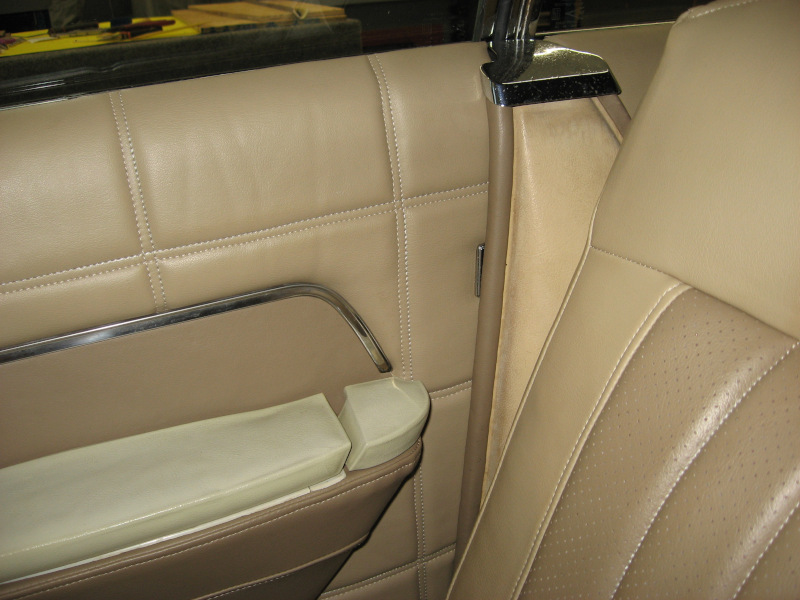
I’m rather pleased with the results. The final outcome is exactly what I was hoping for but didn’t really quite expect when I started this task And there was much rejoicing!