The LED strings need to be attached at the top and the bottom of the tree. The MegaTree companies make what they call Toppers – round plates with holes around the edges. These are available for $40-$50.
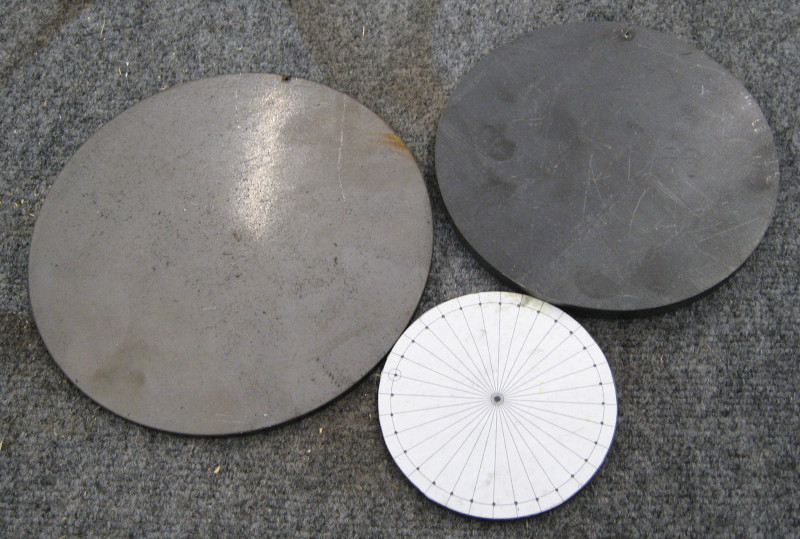
As you may be aware I have a junior grade machine shop. And a bunch of steel I haven’t done much with. Dig through the pile and drag out different sizes of discs.

I had my choice of 8″ x 1/4″, 7″ x 3/8″, or 4-5/8″ x 1/4″ steel discs. All complete and massive overkill for this use. The 4-5/8″ diameter disc it is!
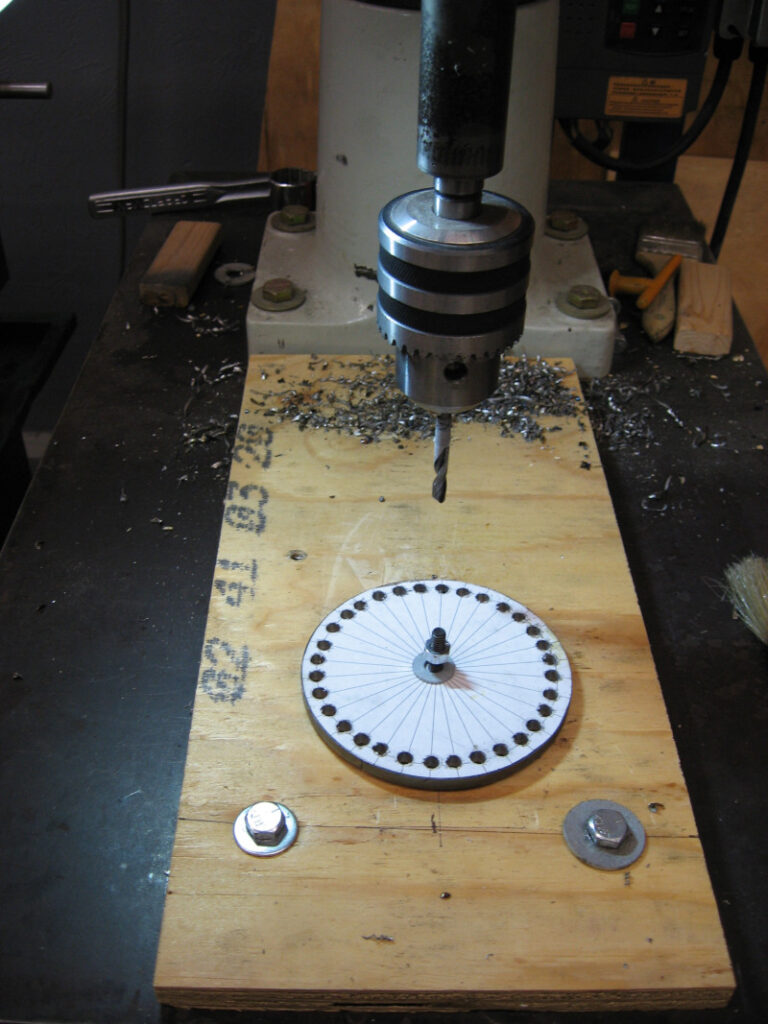
The main job is to drill 32 evenly spaced holes around the edge. To make even I fired up a drawing package on the computer, drew outer and inner circles, and added a series of radial lines at 11.25 degree intervals. Cut out the circle, glue it to the steel disk, and center punch the intersections to get ready for drilling.
To make sure that the hole spacing was even and comfort my fear of flying parts I made a simple fixture and bolted to the drill press.

A piece of 1/2″ EMT is being used as the “trunk” of the tree. Head over to the lathe and turn down a two inch long chunk of steel rod to just fit. Drill it, tap it, and bolt it to the disk. Hit it with a couple of coats of paint and Viola! A finished topper!
The tree base “should” have been the most straightforward part of the job. Get some PVC pipe, bend it in a four foot diameter circle with four T connectors for legs to the center, and done. I’ve used this approach for holding up boat covers in the past and it works great.
3/4″ PVC pipe should be perfect for both strength and flexibility. Hmm, it doesn’t want to bend. No problem – hit it with a heat gun to warm it up and then bend it. Which meant that it was now both collapsing and cracking.
Looks like I got the wrong stuff. Let’s try this again with CPVC supply line instead of PVC waste and vent line.
The 3/4″ CPVC didn’t crack or collapse, but it just wouldn’t bend into a four foot circle and stay in the T connections. After fighting this for several hours I finally gave up and moved on to the 1/2″ CPVC I had purchased just in case the 3/4″ didn’t work.
I finally managed to make a base out of the 1/2″ CPVC. But I’m not happy with it. It will work for this year and I will figure out how to build a better one next year.
Looking back at it,previous projects with this type of tubing were partial circles, not full circles. They had a larger radius. And used longer sections of tubing between connectors. This part of the project was much harder than it should have been. Live and learn…
Assemble the base, trunk, and topper and add the LED strings. The LEDs were attached to the topper with nylon ties and to the base with a combination of nylon ties and bungee cords. The height of the trunk was determined by connecting the first string, moving the topper up the trunk until it was at a good height, and then marking and cutting the trunk.
Adjust all eight strings around the base so that they were evenly spaced and get ready to fire up this tree!
