
I’ll confess – one of the reasons for doing all of the projects around the workshop has been a bit of stalling on actually working on the car.
In an early post I described the Imperial as being essentially rust free. Yeah, about that…
While the car is solid overall there are some problem areas. The doors need work – three of the power windows don’t work and the fourth one barely works. The locks on the back doors are frozen, most of the door weather stripping is missing, the door glass weather stripping is shot, and there is rust on the bottom of the doors. The driver’s door is in really bad shape, so I decided to start with the other doors and get some practice before tackling the worst one.
Pulling the door card off the back door shows some surface rust, but not too bad. The rusty brace will be cleaned and painted before it is re-installed.
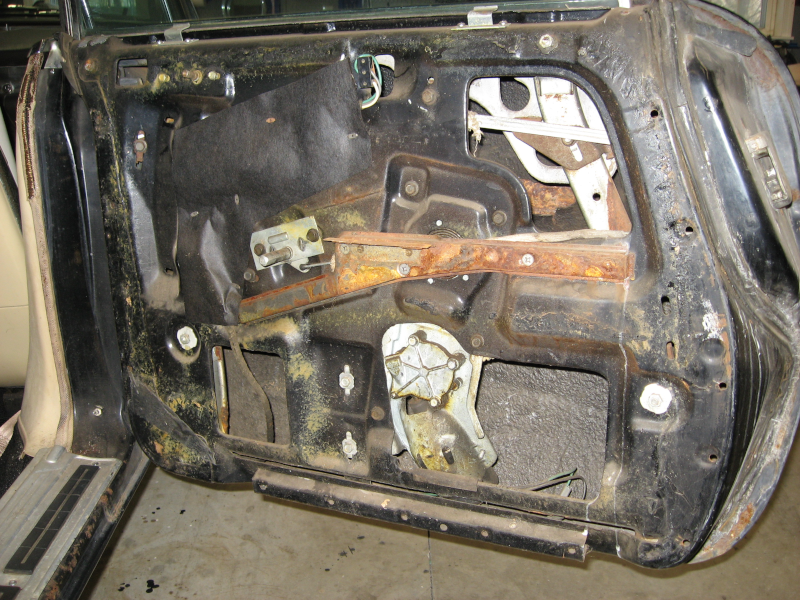
The door was removed from the car and the window mechanism taken apart, cleaned, and lubricated. This is the power window that works – the motor is in good shape, so cleaning, lubricating, and aligning the window mechanism and tracks should restore it to full function.
As expected the latching mechanism was partially frozen. Fortunately no rust, so a good cleaning and lubrication should be all that is needed.
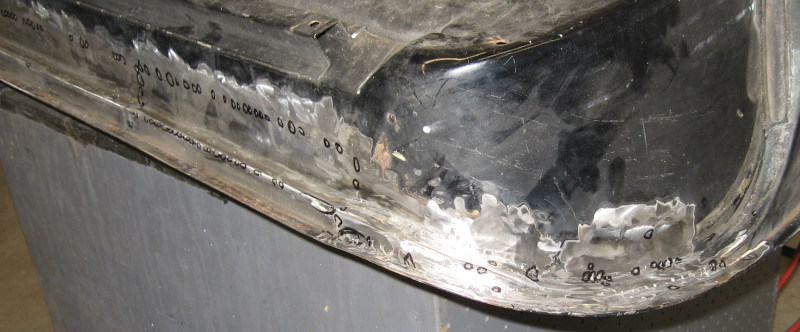
The door shell was lifted onto the workbench for closer examination. Not good; a fair amount of work is needed. The rusted sections need to be cut out and replaced with good metal. Two things to note: First, this is very common – water runs down the inside of the door, collects in the bottom, and is trapped. Second, this is one of the better doors…
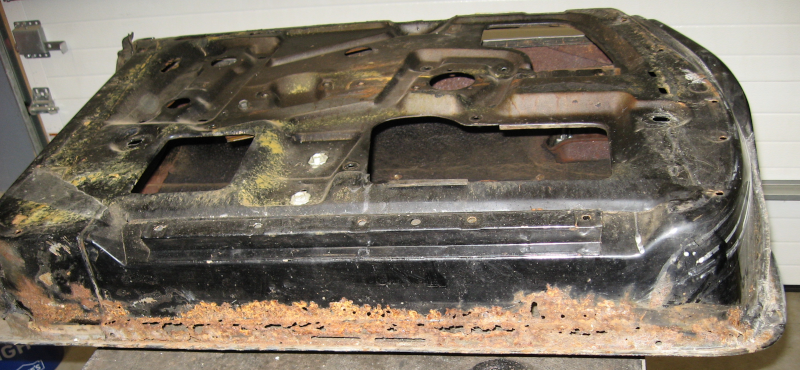
The good news is that there is plenty of solid structure left in the door. This makes it easy to make patch panels that maintain the shape of the door. If large areas are completely missing it is difficult to make a precise replacement. This part of the door has to be precise – it is the sealing surface between the door and the body of the car.
The bottom of the door is fairly simple – it is flat with a few straight bends. It is a “Z” bend, which means I can’t make it as a single piece. The answer is to make it as two pieces with a single bend each and then weld them together to make the third bend. I have a small bending brake that can’t handle the whole length as a single part, so it will be done in two stages.
Cutlines are marked with tape – this gives you a straight line and can be re-positioned until you are happy with it. The old metal is cut out, patch panels are fabricated and fitted, and the new panels are stitch welded in place.
Sheet metal warps badly when welded, so you can’t run a continuous weld bead. Instead you briefly trigger the welding gun, producing a small dot or spot weld. You do this about every two inches, allow the metal to cool, and then add new weld dots between the existing weld dots. You repeat this until the entire seam is solidly welded. This approach minimizes the amount of heat applied to the sheet metal and reduces warping. You still get some warping, but it is easier to deal with.
This picture shows the first patch panel stitch welded in place and the second rusted area ready to cut out.
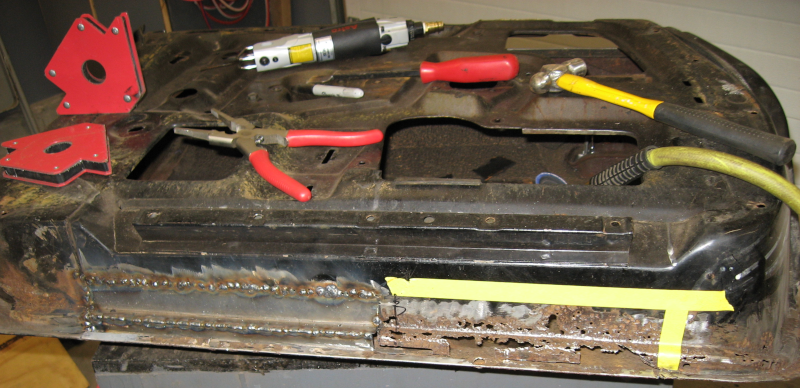
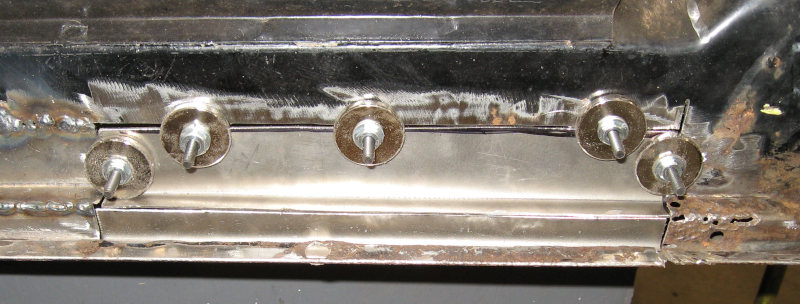
The second patch panel is cut and fitted. While most of the patch is fitted fairly well there are still some excessive gaps. I need to do a better job of fitting patch panels – one of the reasons for tackling the easier doors first! Magnets hold the patch panel in place for fitting – this makes it much easier to get things lined up. When everything is correctly located the corners will be tack welded to lock everything into place and then all of the seams stitch welded.
After welding the weld bead is ground down flush with the surface. Done properly you won’t be able to tell that anything was ever done. When stitch welding it is common to have small gaps or pinholes between the weld dots. You can find these by shining a light behind the weld and marking any gaps. These gaps then receive a weld dot. Stitch, grind, and repeat until the entire weld is solid.
The corner of the door was a problem. I spent over a day trying to make templates using just two patch panels and wasn’t able to get a good fit. I finally gave up on that and made several smaller patches. This proved much easier to do and actually ended up fitting quite well.
After the welding and grinding is finished you should have a finished piece that is ready for painting. I’m not there (yet!), so some body filler is needed. Fortunately not much – while I need to get better, this isn’t a complete hack job.
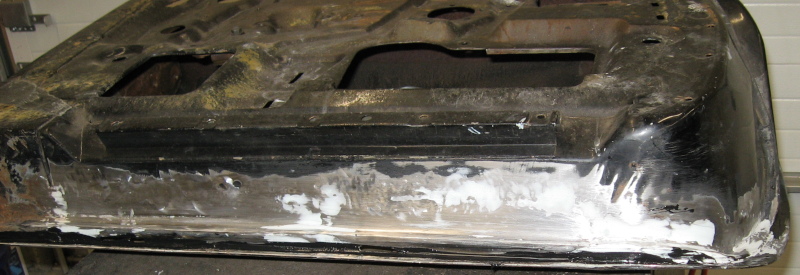
To make sure this doesn’t happen again seam sealer was applied to all seams. This will completely keep water out of all seams in the bottom of the door. A coat of epoxy primer was applied to seal and protect the surface. The epoxy primer was also applied to the inside of the door – something that should have been done at the factory!
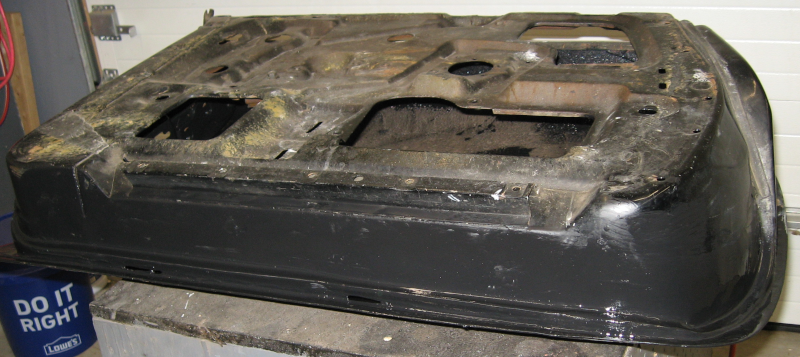
The metal work on this door is done. The next step is putting it back together. Unfortunately I’m waiting on some parts for that – hopefully they will show up soon.
Next: upgrading the power windows in Electrical 13: Relay That Window!