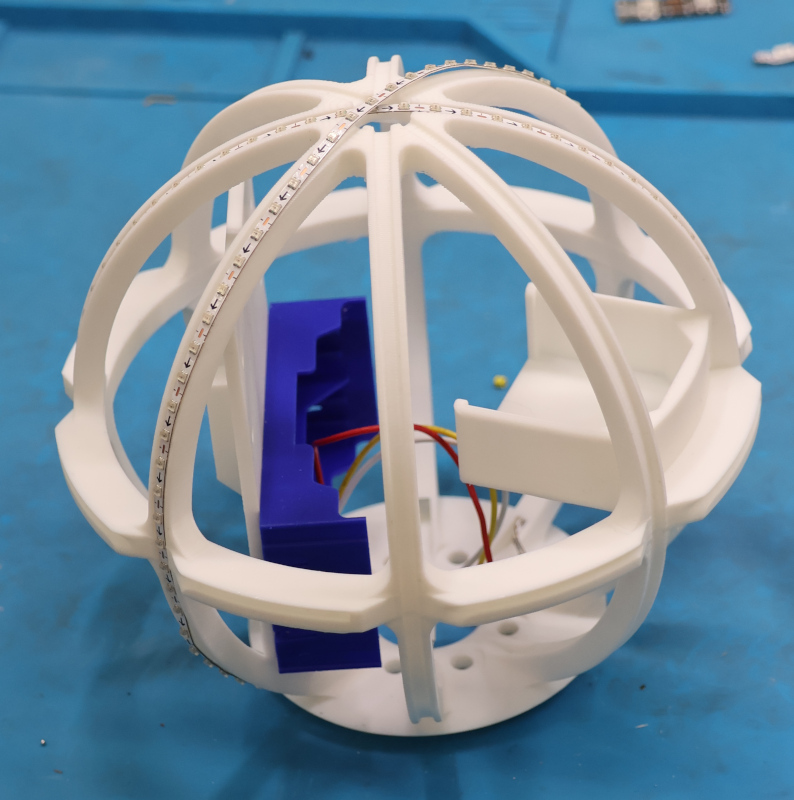
With the Orb working it was time to start working on the programming. Which would involve turning it on and off repeatedly. Well, we needed a power switch to actually use the Wizard Staff. Might as well go ahead and design and build a switch.
Do some research and select an on/off switch and order a bag of them. I’d been thinking about this for a while and decided that the “bracelet” below the dragon paw was the best place to mount it.
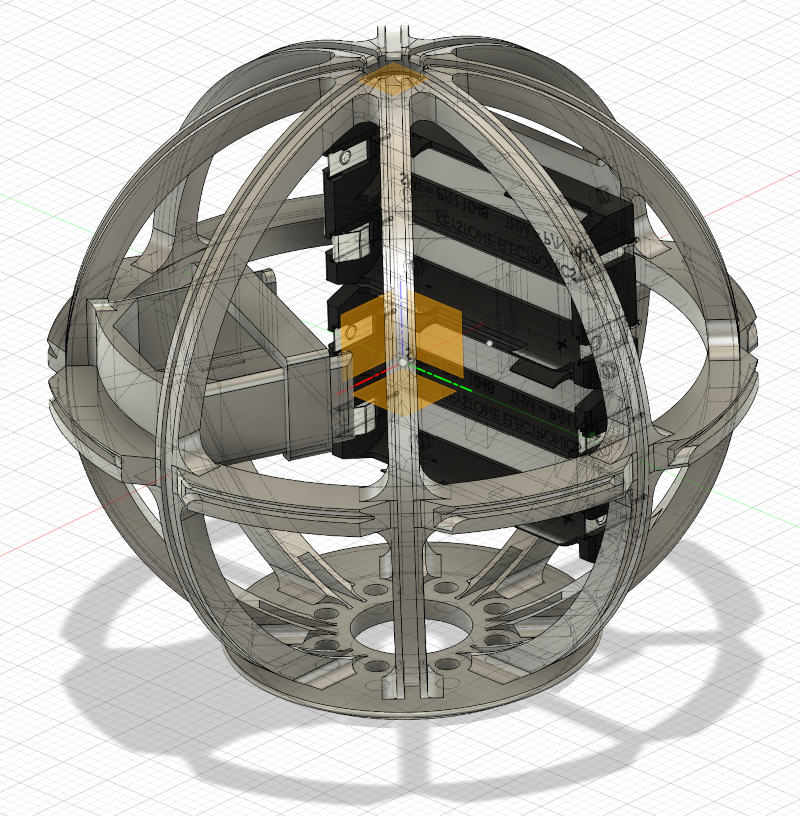
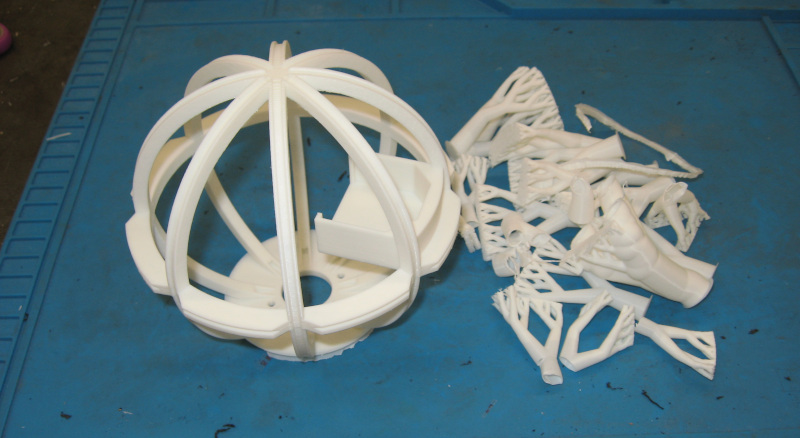
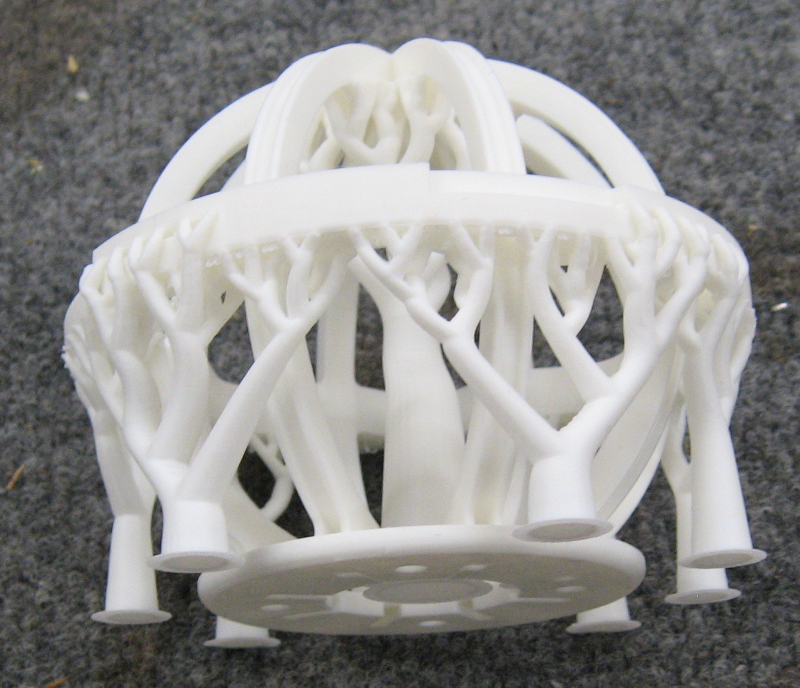
You know what is coming: Fire up the CAD system and design the switch into the bracelet. Print out the bracelet and test fit the switch. It works, so go ahead and wire it up.
This let me start on programming. The electrical engineer let me know that the batteries were on order, but it would be a few days before they were in. No problem; it makes more sense to do all of the development work with external power.
Except that I can’t completely assemble the Orb with the power wires in the way. And it would be really convenient to be able to choose between internal and external power.
Hmm… If I used a DPDT power switch I could choose between battery and external power. And it would be convenient to have a real power inlet on the staff. One that the external power supply could just plug into. A bit of research and order new switches and connectors.
Back into CAD and redesign the bracelet for the new switch and power inlet. Print it out and test fit things – everything fits! It is almost like I’m getting better at this design thing!
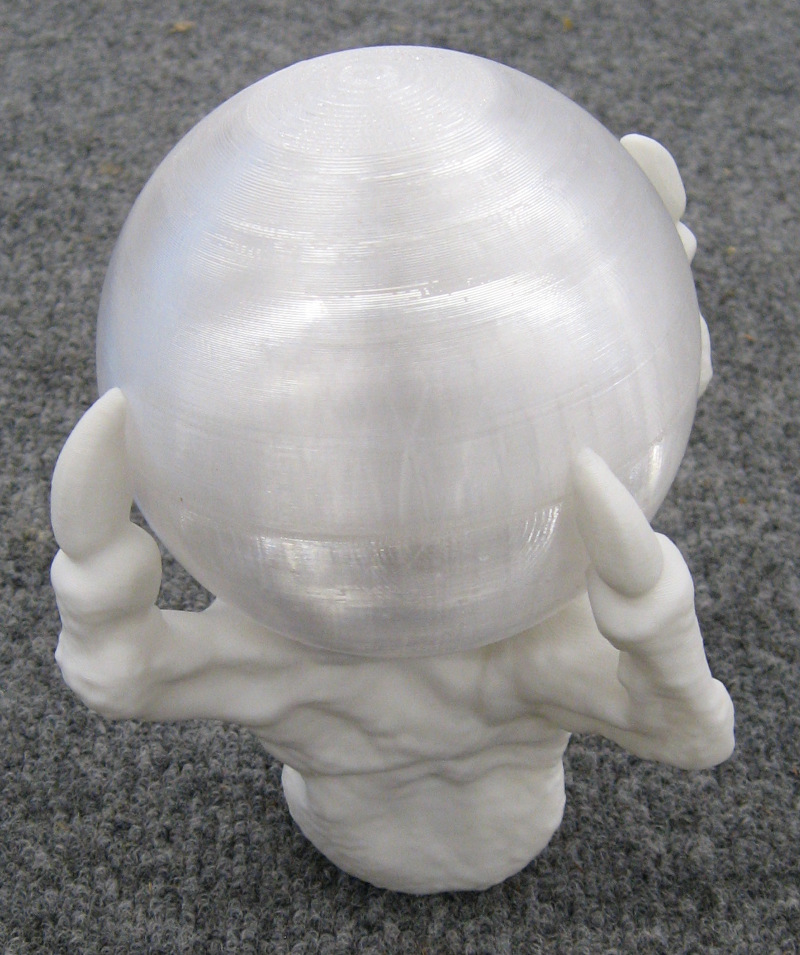
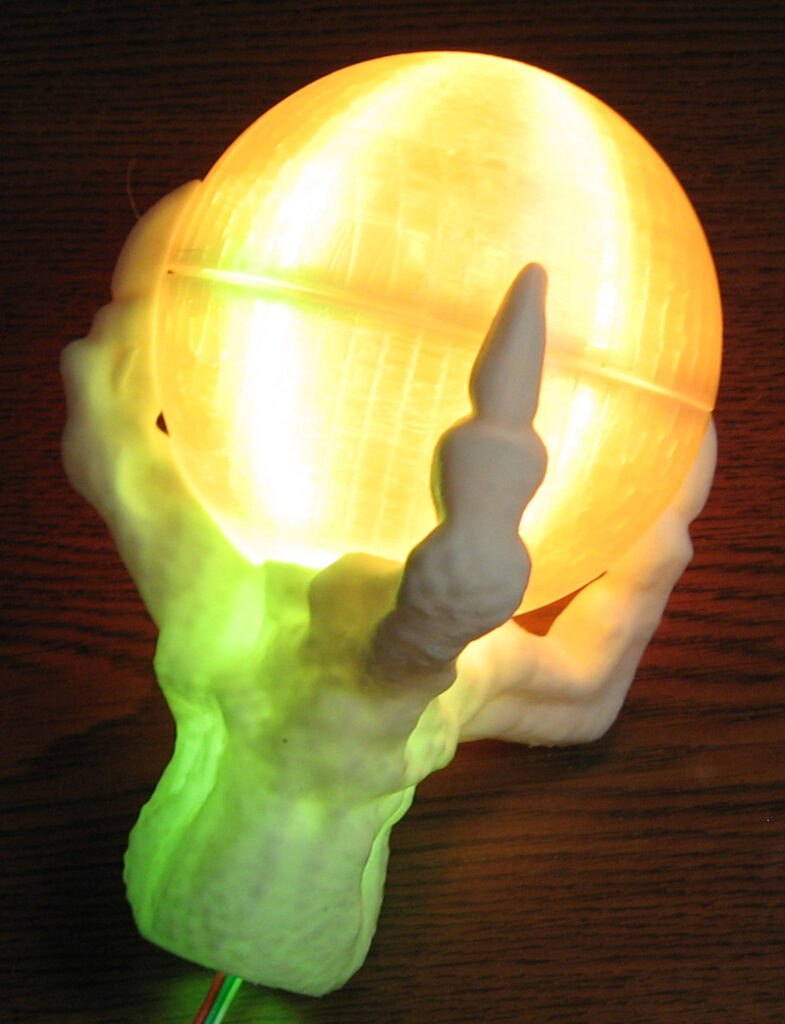
Assemble the Orb, dragon paw, and bracelet. Wire everything up. Test it: works on external power and should work on batteries when they show up.
NOW I can get serious about programming. Dig into WLED and (re)learn about effects, presets, and playlists.
Recall that we want to have interactive control of the Wizard Staff. The WLED controller has two I/O lines that can be used with pushbuttons. I had a bag of pushbuttons ready to go. Study the staff for a few minutes. Looks like the adapter between the bracelet and the shaft of the staff is the most convenient place to reach the buttons.
Back to CAD, design in the pushbuttons, and print out a new adapter. Hey, the pushbuttons fit! Wire everything up, assemble the pieces, and get back to working on the lighting effects.